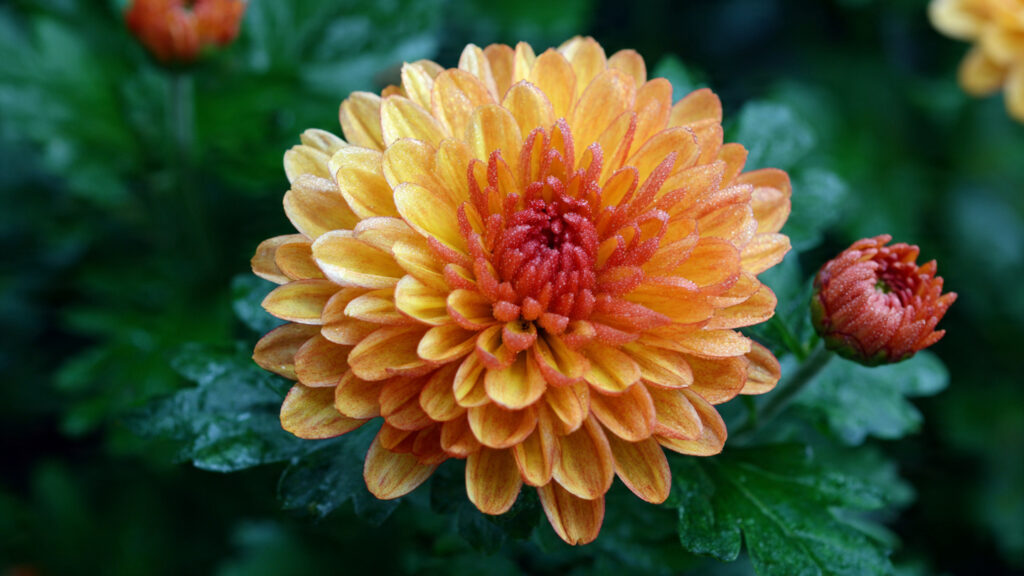
Chrysanthemum morifolium, commonly known as chrysanthemum or “mum,” is a beloved flowering plant that brings vibrant color and life to gardens, patios, and indoor spaces. Known for its wide range of colors—yellow, red, pink, purple, white, and orange—chrysanthemums are celebrated for autumn blooms that brighten landscapes when many other flowers fade. While chrysanthemums can be grown from seeds, propagation through cuttings is considered the fastest and most reliable method to produce healthy, bushy plants that bloom abundantly.
In this comprehensive guide, we explore the best techniques for propagating chrysanthemums from cuttings, including selecting parent plants, preparing cuttings, rooting methods, transplanting, ongoing care, and tips to ensure thriving blooms in home gardens. By following these methods, gardeners can enjoy a stunning display of chrysanthemums year after year.
Understanding Chrysanthemum Growth Habits
Chrysanthemums are hardy perennial or short-lived perennial shrubs that thrive in sunny, well-draining locations. They are naturally bushy plants, producing multiple stems from a central base. Understanding their growth habits is crucial for successful propagation from cuttings:
- Preferred climate: Chrysanthemums flourish in temperate climates with full sun exposure.
- Soil requirements: Well-draining, fertile soil with a slightly acidic to neutral pH (6.0–7.0).
- Blooming season: Typically late summer to autumn, though timing varies with variety and growing conditions.
- Growth habit: Naturally bushy; regular pruning encourages fuller plants.
By mimicking natural conditions during propagation, gardeners can encourage strong, vigorous growth and abundant flowering.
Why Propagate Chrysanthemums from Cuttings?
While chrysanthemums can be grown from seeds, cuttings offer several advantages:
- Faster flowering: Seed-grown plants take longer to mature and bloom.
- Genetic consistency: Cuttings produce clones of the parent plant, preserving flower color, size, and shape.
- Bushier growth: Rooted cuttings develop multiple stems, creating fuller, more attractive plants.
- Cost-effective: Produces multiple plants from a single parent without purchasing new seeds.
Propagation from cuttings is the preferred method for gardeners seeking quick, uniform, and reliable results.
Selecting Healthy Parent Plants
The success of chrysanthemum cuttings depends largely on the quality of the parent plant. Choose plants that are:
- Vibrant and disease-free with lush, healthy foliage.
- Actively growing during the spring or early summer.
- Producing strong, semi-hardwood stems (neither too soft nor too woody).
Selecting vigorous parent plants ensures strong, healthy cuttings with high rooting potential.
Preparing Chrysanthemum Cuttings
Proper preparation of cuttings is essential to encourage root development and ensure success.
Step 1: Choose the Stem
- Select a healthy stem that is about 4–6 inches long.
- Ensure the stem has 2–3 leaf nodes and no flower buds, as buds can divert energy from root formation.
Step 2: Make the Cut
- Cut the stem just below a leaf node using clean, sharp scissors or pruning shears.
- Remove the lower leaves, leaving only 1–2 leaves at the top.
Step 3: Optional Rooting Hormone
- Dip the cut end into rooting hormone powder or gel to stimulate root growth.
- Rooting hormone is optional but increases the success rate, especially for beginner gardeners.
Rooting Methods
Chrysanthemum cuttings can be rooted in soil, water, or a soilless medium. Each method has its benefits:
Soil Method
- Fill small pots with a light, well-draining mix of peat moss and perlite.
- Insert cuttings about 1–2 inches deep, firming the soil around the base.
- Water lightly to settle the soil.
- Cover with a plastic dome or bag to maintain humidity.
Water Method
- Place cuttings in a container of lukewarm water, ensuring the leaf nodes are submerged but leaves remain above water.
- Change water every 2–3 days to prevent bacterial growth.
- Roots should form within 2–3 weeks, after which cuttings can be transplanted to soil.
Soilless Medium
- Use a medium like vermiculite, perlite, or sand to provide aeration and prevent waterlogging.
- Insert cuttings and maintain consistent moisture with a light mist.
- Cover with a humidity dome to encourage root growth.
Maintaining Optimal Conditions for Rooting
Cuttings require careful attention to thrive during the rooting process.
Light:
- Provide bright, indirect sunlight. Avoid direct sun, which can stress or scorch cuttings.
Temperature:
- Maintain a warm environment around 68–75°F (20–24°C).
- Avoid cold drafts or excessive heat.
Humidity:
- High humidity encourages root formation. Cover cuttings with a plastic bag or dome to retain moisture.
Consistent conditions help cuttings develop strong roots, increasing the likelihood of survival and robust growth.
➡️ How to Grow Malabar Spinach from Cuttings for Fast, Easy Greens
➡️ How to Grow Super Delicious Cabbage at Home Without a Garden
➡️ How to Grow Bean Sprouts at Home in Plastic Bottles Easily (Step‑by‑Step Guide)
➡️ Why is Your Lemon Tree Blooming in the Heart of Winter?
➡️ Why Should Your Garden Have a Dedicated Pollinator Highway?
➡️ Why Do Your Fruit Trees Need a Winter Wash to Thrive in Spring?
➡️ How Can Rice Water Transform Your Fruits into Sweeter Delights?
➡️ Jumpstart Your Winter Garden: Seed Starting Under Lights
Transplanting Rooted Cuttings
Once cuttings develop a healthy root system (usually 3–5 weeks), they are ready for transplanting:
Step 1: Choose the Location
- Select a garden bed or container with well-draining, fertile soil.
- Ensure the site receives 6–8 hours of sunlight daily.
Step 2: Planting Technique
- Dig a hole slightly larger than the root ball of the cutting.
- Place the cutting in the hole and backfill with soil, firming gently around the base.
- Water immediately to settle the soil and reduce transplant shock.
Step 3: Spacing
- Space plants 12–18 inches apart for bushy growth and airflow.
- Crowding can lead to disease or reduced flowering.
Proper transplanting ensures strong establishment and sets the stage for abundant blooms.
Ongoing Care for Chrysanthemums
Once established, chrysanthemums require regular care to thrive and produce vibrant flowers:
Watering:
- Keep soil evenly moist, especially during hot, dry periods.
- Avoid waterlogging, which can lead to root rot.
Fertilization:
- Use a balanced, slow-release fertilizer or water-soluble formula every 3–4 weeks during active growth.
- Fertilization supports strong foliage, healthy stems, and prolific flowering.
Pruning and Pinching:
- Pinch back growing tips during early growth to encourage bushier plants.
- Remove dead or yellowing leaves to maintain plant health.
- After flowering, cut back stems to promote new growth and next season’s blooms.
Pest and Disease Control:
- Monitor for aphids, spider mites, and leaf miners. Treat with insecticidal soap or neem oil as needed.
- Avoid overcrowding to reduce fungal diseases like powdery mildew.
Encouraging Thriving Blooms
To maximize flower production and maintain long-lasting blooms:
- Pinch and prune regularly: Encourages multiple stems and more flowers.
- Provide full sun: Ensures robust growth and vibrant blooms.
- Maintain soil fertility: Supports strong stems and continuous flowering.
- Monitor for pests and diseases: Keeps plants healthy and productive.
With consistent care, chrysanthemum cuttings develop into lush, flowering plants that brighten any garden space.
Benefits of Propagating Chrysanthemums from Cuttings
- Faster flowering: Cuttings produce blooms more quickly than seed-grown plants.
- Uniform plants: Cuttings maintain the parent plant’s color, size, and shape.
- Cost-effective propagation: One parent plant can produce multiple new plants.
- Enhanced garden aesthetics: Dense, bushy plants create vibrant displays for borders, patios, or container gardens.
Propagation from cuttings allows gardeners to enjoy abundant blooms with less effort than starting from seed.
Final Thoughts
Growing chrysanthemums from cuttings is a highly effective way to produce vigorous, bushy plants that bloom beautifully in home gardens. By selecting healthy parent plants, preparing cuttings correctly, rooting them in soil or water, and maintaining optimal conditions, gardeners can achieve high success rates.
Transplanting rooted cuttings into well-prepared soil, combined with regular care, watering, fertilization, and pruning, ensures thriving chrysanthemums that produce vibrant, long-lasting blooms. With patience and consistent attention, even beginner gardeners can propagate chrysanthemums successfully, creating a colorful, eye-catching display that enhances any garden or container space.
By mastering the art of chrysanthemum propagation from cuttings, gardeners can enjoy a continuous supply of healthy plants that provide beauty, fragrance, and seasonal charm, year after year.