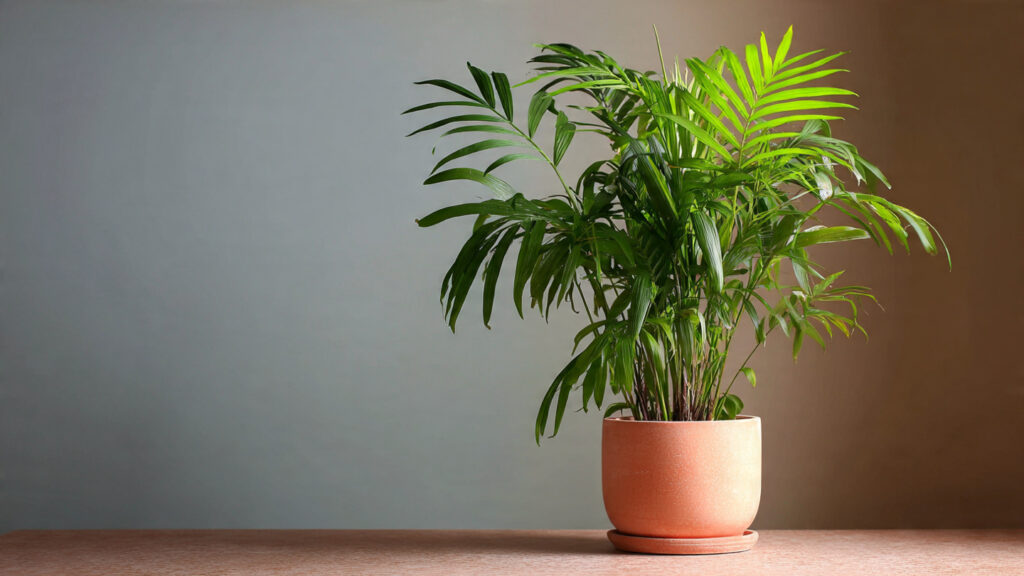
The Parlor Palm (Chamaedorea elegans) is one of the most popular indoor plants thanks to its elegant, arching fronds, low-maintenance care, and ability to thrive in low-light conditions. While it is known for being forgiving and slow-growing, even a resilient plant like the Parlor Palm eventually needs repotting. Knowing when and how to repot is essential for maintaining healthy growth, preventing root stress, and ensuring your indoor oasis continues to flourish.
In this article, we’ll explore the clear signs that your Parlor Palm needs a new pot, the best time to repot, and a step-by-step guide to repotting correctly.
Why Repotting Matters for Parlor Palms
Repotting isn’t just about giving your plant a bigger container. It’s an opportunity to:
- Refresh the soil with new nutrients for healthy growth.
- Prevent root-bound conditions where roots outgrow their pot and become tangled.
- Improve drainage and aeration, reducing the risk of rot or fungal infections.
- Encourage stronger root systems, leading to lush, green foliage.
Even though Parlor Palms are slow growers, neglecting repotting can lead to stunted growth, yellowing leaves, and overall decline.
Clear Signs It’s Time to Repot Your Parlor Palm
Identifying the need for repotting early ensures your plant remains healthy. Look out for these key indicators:
1. Roots Are Growing Out of Drainage Holes
- If roots are visible at the bottom of the pot, the plant may be root-bound, meaning it has outgrown its current space.
- Root-bound palms often struggle to absorb water and nutrients effectively, leading to slowed growth.
2. Water Drains Too Quickly
- When water passes straight through the pot without soaking the soil, the roots may have taken up all available space, leaving little room for soil to retain moisture.
- This is a sign your palm needs more soil and room to thrive.
3. Soil Dries Out Rapidly
- If your Parlor Palm needs watering every day or two, it may indicate that the roots are crowded, leaving insufficient soil to hold moisture.
4. Yellowing or Wilting Leaves
- While Parlor Palms are slow to show stress, consistently yellowing or drooping leaves can signal root stress caused by a cramped pot.
- Leaf decline is often one of the first visible signs that repotting is needed.
5. Stunted Growth
- Parlor Palms naturally grow slowly, but if you notice very little or no growth during the growing season, it could be due to root congestion or nutrient depletion.
6. Top-Heavy or Unstable Plant
- If your palm becomes top-heavy or wobbly, it may need a larger pot to provide stability and prevent tipping over.
7. Soil Has Degraded
- Over time, potting soil breaks down, loses nutrients, and compacts.
- Even if the roots aren’t overcrowded, old soil may not support healthy growth, making repotting necessary.
When Is the Best Time to Repot?
Timing is crucial for minimal stress and optimal recovery. For Parlor Palms:
- Ideal season: Spring or early summer, when the plant is actively growing.
- Avoid winter: Plants are slower during dormancy, and root disturbance can cause unnecessary stress.
- Frequency: Every 2–3 years is generally sufficient for most Parlor Palms, though slow growers may last longer before needing repotting.
Repotting during the growing season gives the palm a chance to establish itself in fresh soil and adjust to its new pot before cooler months.
Choosing the Right Pot and Soil
Selecting the right container and soil mix is key to a successful repot.
Pot Selection
- Size: Choose a pot 1–2 inches larger in diameter than the current pot. Too big can retain excess moisture and cause root rot.
- Drainage: Ensure the pot has adequate drainage holes to prevent waterlogging.
- Material: Terracotta pots allow for airflow and reduce overwatering risk, while plastic pots retain moisture longer.
Soil Mix
- Use a well-draining indoor plant potting mix.
- You can create your own by mixing:
- 2 parts peat moss or coco coir
- 1 part perlite or coarse sand for drainage
- 1 part compost for nutrients
- Avoid garden soil, which may be too dense and prone to compaction.
Step-by-Step Guide to Repotting Your Parlor Palm
Follow these steps to repot your Parlor Palm safely:
Step 1: Prepare the New Pot
- Place a layer of small stones or broken pot shards at the bottom to enhance drainage.
- Add a layer of fresh soil mix, enough so the root ball will sit slightly below the rim of the new pot.
Step 2: Remove the Palm from Its Old Pot
- Gently tip the plant sideways and slide it out, supporting the root ball.
- If roots are tightly packed, lightly tease or trim them to encourage outward growth.
Step 3: Inspect and Clean the Roots
- Check for rot or damaged roots, cutting away any soft, dark, or mushy roots with sterilized scissors.
- Healthy roots are firm and light-colored.
Step 4: Position the Palm in the New Pot
- Center the root ball in the new container.
- Add soil around the roots, pressing gently to eliminate air pockets without compacting too tightly.
- Ensure the plant sits at the same depth as before.
Step 5: Water Thoroughly
- Water generously after repotting to help settle the soil.
- Allow excess water to drain out of the bottom.
Step 6: Post-Repot Care
- Place the palm in bright, indirect light, avoiding direct sun that may stress it immediately after repotting.
- Maintain consistent watering, allowing the soil to slightly dry between waterings.
- Avoid fertilizing for 4–6 weeks to let the roots adjust to their new environment.
Additional Tips for Healthy Parlor Palm Growth
- Rotate Regularly – Turn the pot every few weeks to ensure even growth.
- Monitor for Pests – Repotting can expose the plant to pests; check for scale or spider mites.
- Maintain Humidity – Parlor Palms thrive in moderate humidity; misting or placing near a humidifier can help.
- Avoid Overwatering – New soil retains water, so check moisture levels carefully.
- Prune Dead Leaves – Remove any yellowing or damaged fronds to redirect energy to healthy growth.
By following these care practices, your Parlor Palm will adapt quickly and flourish in its new home.
Common Mistakes to Avoid
- Using too large a pot – Excess soil can lead to waterlogging and root rot.
- Disturbing roots excessively – Overhandling roots can shock the plant.
- Repotting in winter – Dormant plants recover slower from root disturbance.
- Ignoring drainage – Ensure water does not pool at the bottom.
- Overfertilizing immediately after repotting – Newly disturbed roots are sensitive; wait 4–6 weeks before feeding.
Avoiding these mistakes ensures a smooth transition and healthy growth.
Signs Your Parlor Palm Is Thriving After Repotting
After repotting, monitor your palm for signs of healthy adaptation:
- New fronds emerging from the crown
- Upright, vibrant green leaves
- Steady growth rate compared to previous seasons
- No signs of yellowing, wilting, or root stress
Successful repotting can rejuvenate your Parlor Palm, leading to years of healthy indoor growth.
Conclusion
Repotting is an essential step in the long-term care of your Parlor Palm. Recognizing clear signs such as root-bound conditions, rapid drying soil, stunted growth, and yellowing leaves helps you time repotting correctly. Choosing the right pot and soil, following proper steps, and providing attentive post-repot care ensures your palm thrives in its new environment.
By understanding when and how to repot your Parlor Palm, you can maintain its lush, elegant fronds, prevent disease, and encourage vibrant growth. With proper care, your Parlor Palm will remain a stunning centerpiece in your home for many years, proving that a little attention and the right technique make a huge difference in indoor plant health.
➡️ How to Grow Malabar Spinach from Cuttings for Fast, Easy Greens
➡️ How to Grow Super Delicious Cabbage at Home Without a Garden
➡️ How to Grow Bean Sprouts at Home in Plastic Bottles Easily (Step‑by‑Step Guide)
➡️ Why is Your Lemon Tree Blooming in the Heart of Winter?
➡️ Why Should Your Garden Have a Dedicated Pollinator Highway?
➡️ Why Do Your Fruit Trees Need a Winter Wash to Thrive in Spring?
➡️ How Can Rice Water Transform Your Fruits into Sweeter Delights?
➡️ Jumpstart Your Winter Garden: Seed Starting Under Lights