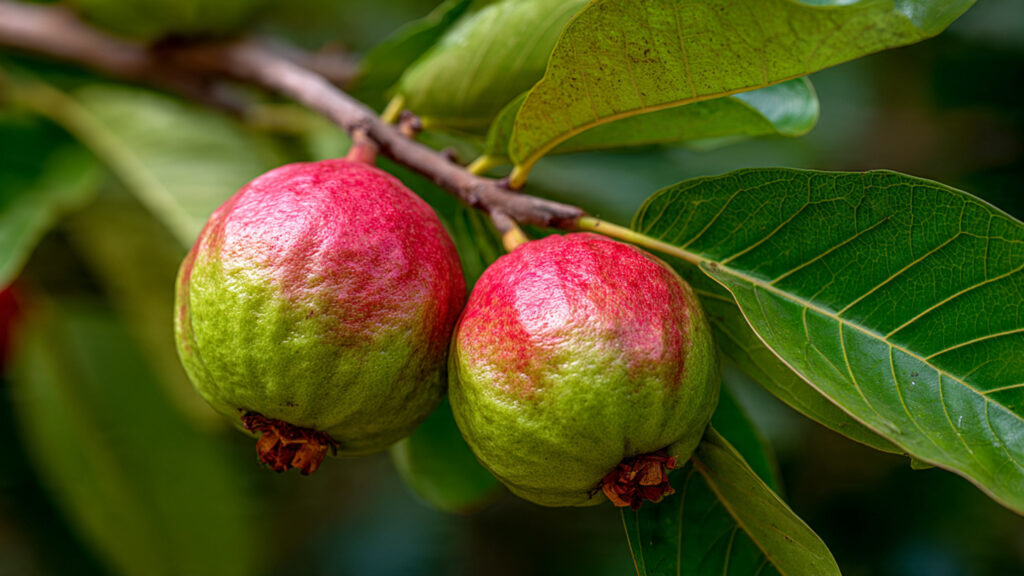
Guava is one of the most beloved tropical fruits worldwide, celebrated for its sweet aroma, juicy flesh, and health benefits. But growing guava from seeds can be slow and unpredictable, often taking years to bear fruit—and sometimes producing poor-quality trees.
Enter side grafting—a simple horticultural technique that allows you to accelerate growth, improve fruit quality, and enjoy superior yields in much less time. Whether you are a backyard gardener or a commercial grower, mastering guava side grafting can revolutionize your harvest.
This complete practical guide will walk you through everything you need to know to perform side grafting successfully, from choosing the right scion to caring for your grafted guava trees.
Why Choose Side Grafting for Guava?
Side grafting is preferred over traditional seed propagation for several reasons:
- Faster Fruit Production – Grafted guava trees often start flowering and fruiting in 1–2 years, compared to 4–5 years from seed-grown plants.
- Superior Fruit Quality – The grafted scion retains the desirable traits of the parent variety, including sweetness, aroma, and size.
- Disease Resistance – Rootstocks can provide better resistance to soil-borne diseases, ensuring healthier trees.
- Uniform Growth – Side grafting ensures consistent tree shape and fruiting patterns, making management and harvesting easier.
In short, side grafting is the shortcut to producing high-quality, fast-growing guava trees.
Step 1: Selecting the Right Rootstock
The success of side grafting begins with choosing the proper rootstock. Your rootstock should be:
- Healthy and free from pests or diseases
- 1–2 years old for optimal growth
- Vigorous, with a strong, straight stem
Common rootstock varieties include seedlings from hardy local guava varieties that adapt well to your climate. The rootstock determines the tree’s resilience, soil adaptability, and growth vigor, so don’t skip this crucial step.
Step 2: Choosing a Superior Scion
The scion is the shoot or bud that you want to propagate onto your rootstock. Choose a scion from:
- Healthy, disease-free, and productive guava trees
- Fruit-bearing branches that produce high-quality guavas
- One-year-old shoots with firm, brownish bark
The scion’s quality is critical because it determines the future fruit quality. Remember, the traits of the grafted scion remain true to the parent tree.
Step 3: Timing Your Grafting
Timing is everything in side grafting. For guava:
- Best time: Late winter or early spring, before the growing season begins
- Optimal conditions: Warm, sunny days with moderate humidity
- Avoid grafting during heavy rainfall or extreme heat
Correct timing ensures that the grafted scion can successfully fuse with the rootstock and start growing quickly.
Step 4: Preparing the Rootstock for Grafting
Preparing the rootstock is a crucial step to ensure grafting success. Here’s how to do it:
- Select a healthy stem on the rootstock about 1 cm thick.
- Make a clean slanting cut on the side of the stem (about 2–3 inches long).
- Remove any leaves or branches near the grafting site to prevent moisture loss.
The cut must be smooth and clean. Ragged cuts reduce the chances of the scion successfully joining the rootstock.
Step 5: Preparing the Scion
Next, prepare the scion:
- Cut a 1–2 inch shoot from the donor guava tree, ensuring it has 2–3 buds.
- Make a matching slanting cut at the base of the scion to fit snugly into the rootstock.
- Trim off any leaves from the lower part of the scion to reduce water loss.
Matching cuts on the rootstock and scion ensures maximum cambium contact, which is essential for successful grafting.
➡️ How to Grow Malabar Spinach from Cuttings for Fast, Easy Greens
➡️ How to Grow Super Delicious Cabbage at Home Without a Garden
➡️ How to Grow Bean Sprouts at Home in Plastic Bottles Easily (Step‑by‑Step Guide)
➡️ Why is Your Lemon Tree Blooming in the Heart of Winter?
➡️ Why Should Your Garden Have a Dedicated Pollinator Highway?
➡️ Why Do Your Fruit Trees Need a Winter Wash to Thrive in Spring?
➡️ How Can Rice Water Transform Your Fruits into Sweeter Delights?
➡️ Jumpstart Your Winter Garden: Seed Starting Under Lights
Step 6: Inserting the Scion
Now comes the crucial step: joining the scion to the rootstock.
- Insert the scion into the slanting cut of the rootstock so that the cambium layers align perfectly.
- Wrap the graft junction tightly with grafting tape, polyethylene strip, or parafilm to hold it in place and prevent drying.
- Ensure the tape is snug but not too tight to avoid constricting growth.
Correct insertion and alignment are critical. A misaligned scion may fail to unite or grow weakly.
Step 7: Protecting and Caring for the Graft
After grafting, proper care is essential for success:
- Shade Protection: Keep the grafted tree under partial shade for 2–3 weeks to reduce stress.
- Watering: Water the rootstock regularly, ensuring the soil is moist but not soggy.
- Spraying: Optional foliar sprays with growth promoters or fungicides can improve survival rates.
- Monitoring: Check the graft junction daily for signs of infection, wilting, or pest attack.
Healthy maintenance ensures a higher survival rate, often reaching 80–90% success when done carefully.
Step 8: Removing the Grafting Tape
Once the scion starts sprouting and shows growth:
- Usually after 3–4 weeks, remove the tape gently.
- Continue monitoring and protect the young scion from harsh sunlight or wind.
Gradually, the scion and rootstock will fuse permanently, forming a single, strong tree.
Step 9: Post-Grafting Fertilization
Fertilization accelerates growth and improves fruiting. Use:
- Nitrogen-rich fertilizer for leafy growth
- Balanced NPK fertilizers once the grafted scion establishes
- Organic options like compost, vermicompost, or cow manure
Regular fertilization ensures your grafted guava grows fast and starts producing high-quality fruits sooner.
Step 10: Pruning for Shape and Productivity
Pruning after grafting helps the tree develop a strong framework and encourages fruiting:
- Remove lateral shoots below the graft for the first 2–3 months
- Train the scion to grow upright or in a desired canopy shape
- Remove damaged or weak branches regularly
Well-shaped trees are easier to manage, improve sunlight penetration, and lead to better fruit yields.
Advantages of Guava Side Grafting
By following this technique, you enjoy numerous benefits:
- Early Harvest: Grafted trees can bear fruit in 12–18 months.
- Superior Fruit Quality: Retains parent tree’s desirable traits.
- Disease Tolerance: Rootstocks can improve overall plant resistance.
- Uniformity: Trees have consistent growth, size, and fruiting patterns.
- Space Efficiency: Ideal for backyard gardens or intensive orchards.
Common Mistakes to Avoid
Even experienced gardeners can make errors during grafting. Avoid:
- Misaligned cuts causing poor cambium contact
- Grafting on unhealthy rootstocks or scions
- Exposing the graft to direct sunlight or wind immediately
- Overwatering or underwatering grafted plants
Following proper technique ensures higher success and faster results.
Final Thoughts: Mastering Guava Side Grafting
Guava side grafting is not just a technique; it’s a shortcut to success. With patience, proper preparation, and careful execution, you can achieve:
- Faster growth
- Superior fruit quality
- Early and abundant yields
Whether you are growing a few trees in your backyard or planning a commercial orchard, side grafting is a skill worth mastering.
By investing in quality scions, healthy rootstocks, and proper aftercare, you can transform ordinary guava plants into high-yielding, fruit-producing champions.
🌿 Start grafting today and enjoy juicy, premium guavas in record time!