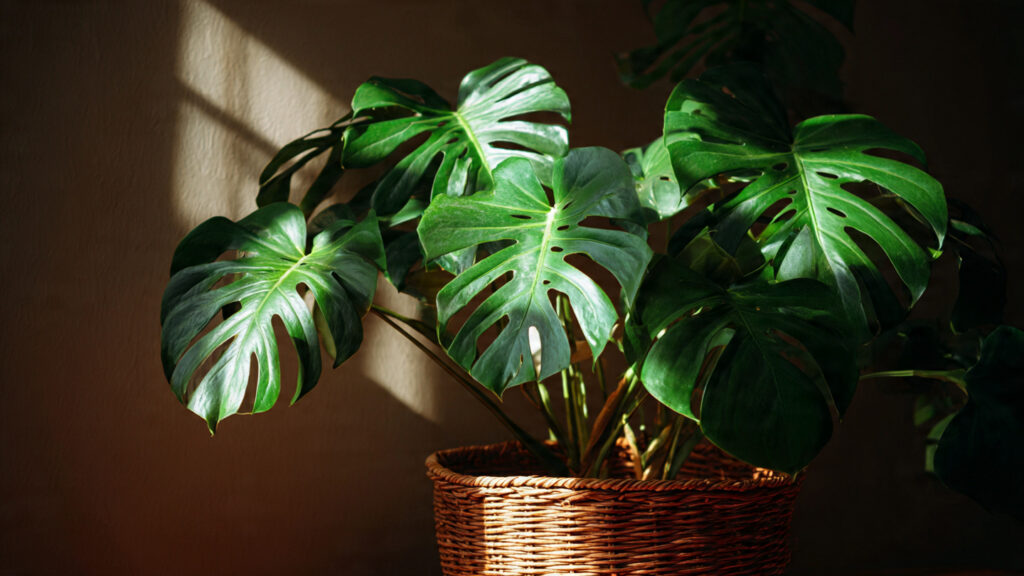
Monstera plants have become icons of modern indoor gardening. With their dramatic split leaves and vigorous growth habit, they bring tropical energy into homes, offices, and studios. But beyond their beauty lies another exciting advantage: they’re incredibly easy to propagate.
If you’ve ever wondered how to successfully propagate a Monstera node in water, the good news is that it’s simple, affordable, and deeply satisfying. With the right technique and a little patience, you can turn a single cutting into a thriving new plant.
Here’s your complete guide to doing it correctly — and avoiding the most common mistakes.
Understanding the Monstera Node
Before you begin, it’s important to understand what a node actually is.
A node is the small bump or joint on the stem where leaves, aerial roots, and new growth emerge. It contains the plant’s growth cells. Without a node, a cutting will never develop roots.
Many beginners accidentally cut a leaf stem (petiole) without including a node. That leaf may look healthy for weeks, but it will never root or grow.
So remember:
No node = no roots = no new plant.
Look for:
- A small nub or bump on the stem
- An aerial root emerging from the stem
- A visible ring where a leaf attaches
That section is what you need.
Step 1: Choose a Healthy Parent Plant
Successful propagation starts with a strong, mature Monstera. Select a plant that:
- Has several healthy leaves
- Shows active growth
- Is free from pests or disease
- Has visible aerial roots
Avoid propagating from stressed or recently repotted plants. Healthy cuttings root faster and produce stronger new growth.
Step 2: Make the Correct Cut
Using sharp, sterilized pruning shears:
- Identify a node beneath a healthy leaf.
- Cut about 1–2 inches below the node.
- Ensure the cutting includes:
- At least one node
- One healthy leaf (optional but helpful)
- An aerial root (ideal but not required)
Sterilize tools with rubbing alcohol before cutting to prevent bacterial infection.
If you’re taking multiple cuttings, give the parent plant time to recover between heavy trims.
➡️ How to Grow Malabar Spinach from Cuttings for Fast, Easy Greens
➡️ How to Grow Super Delicious Cabbage at Home Without a Garden
➡️ How to Grow Bean Sprouts at Home in Plastic Bottles Easily (Step‑by‑Step Guide)
➡️ Why is Your Lemon Tree Blooming in the Heart of Winter?
➡️ Why Should Your Garden Have a Dedicated Pollinator Highway?
➡️ Why Do Your Fruit Trees Need a Winter Wash to Thrive in Spring?
➡️ How Can Rice Water Transform Your Fruits into Sweeter Delights?
➡️ Jumpstart Your Winter Garden: Seed Starting Under Lights
Step 3: Prepare the Cutting for Water
Remove any leaves that would sit below the water line. Submerged leaves will rot and contaminate the water.
If the cutting has a large leaf, you may trim it slightly to reduce water loss through transpiration, but avoid heavy trimming unless necessary.
Now your cutting is ready.
Step 4: Place the Node in Clean Water
Choose a clear glass jar or vase. Transparency helps you monitor root growth and water clarity.
Fill with room-temperature, filtered water if possible. Tap water is usually fine, but heavily chlorinated water may slow rooting.
Place the cutting so:
- The node is fully submerged.
- The leaf remains above water.
- Aerial roots are under water if present.
Set the container in bright, indirect light. Avoid direct sunlight, which can overheat the water and damage the cutting.
Step 5: Maintain Proper Conditions
Water propagation is simple, but consistency matters.
Change the Water Regularly
Change the water every 3–5 days. Fresh water:
- Prevents bacterial buildup
- Adds oxygen
- Reduces risk of rot
If the water becomes cloudy, change it immediately.
Provide Bright Indirect Light
Monsteras love bright light but not harsh sun. A spot near a window with filtered light works perfectly.
Low light slows root development significantly.
Maintain Warm Temperatures
Ideal temperature range:
65–80°F (18–27°C)
Cold environments slow growth and increase rot risk.
How Long Does Rooting Take?
Patience is key.
- First root nubs may appear in 7–14 days.
- Stronger root systems typically form in 3–6 weeks.
Some cuttings root faster, especially during spring and summer when the plant is actively growing.
Don’t rush the process.
When Is It Ready for Soil?
A common mistake is transferring too early.
Wait until:
- Roots are 2–4 inches long.
- Multiple secondary roots begin forming.
Stronger roots transition better into soil.
If you move it too soon, the plant may struggle with shock.
Transferring to Soil Successfully
When roots are ready:
- Choose a well-draining potting mix (a chunky aroid mix is ideal).
- Select a pot with drainage holes.
- Gently place roots into soil.
- Water thoroughly after planting.
Keep the soil slightly moist for the first two weeks to help the roots adapt from water to soil conditions.
After that, return to a normal watering routine.
Common Problems and How to Fix Them
1. Stem Rot
Symptoms:
- Mushy stem
- Foul smell
- Dark discoloration
Cause:
- Dirty water
- Node submerged too deeply
- Infrequent water changes
Solution:
Cut above the rot with sterilized shears and restart in fresh water.
2. No Root Growth After Weeks
Possible reasons:
- No actual node included
- Low light
- Cold temperatures
Double-check your cutting. Without a node, rooting will never happen.
3. Yellowing Leaf
A single yellowing leaf is often normal stress during propagation. If it spreads:
- Improve lighting
- Change water more frequently
- Ensure only the node is submerged
Should You Add Rooting Hormone?
Rooting hormone is optional. Monsteras root easily in water without it.
However, if your environment is cooler or light levels are lower, a small dip in liquid rooting hormone before placing in water can slightly speed the process.
It’s helpful — not necessary.
Can You Leave Monstera in Water Long-Term?
Yes, but it’s not ideal.
Water-grown plants develop “water roots,” which differ from soil roots. They’re more fragile and less efficient at nutrient absorption.
If kept in water permanently:
- Add diluted liquid fertilizer occasionally.
- Change water frequently.
- Expect slower overall growth compared to soil-grown plants.
For long-term health, soil is usually better.
Best Time of Year to Propagate
Spring and summer are ideal.
During active growth periods:
- Rooting is faster.
- Energy levels are higher.
- Success rates increase.
Propagation in winter is possible but slower.
Bonus Tip: Encourage Faster Rooting
Try this simple boost:
Place the cutting near another healthy plant. Plants release small amounts of natural growth hormones into the air, which may slightly stimulate rooting.
It’s subtle — but every advantage helps.
Why Water Propagation Is So Rewarding
Water propagation isn’t just practical — it’s visual and engaging.
You get to:
- Watch roots form day by day.
- Monitor plant health easily.
- Share cuttings with friends.
- Expand your plant collection affordably.
It turns one plant into many.
Final Thoughts
Successfully propagating a Monstera node in water comes down to five essential steps:
- Always include a node.
- Use clean tools and fresh water.
- Provide bright, indirect light.
- Change water regularly.
- Wait for strong roots before transplanting.
That’s it.
With patience and proper care, you’ll soon have a thriving new Monstera ready to grow into another stunning statement plant.