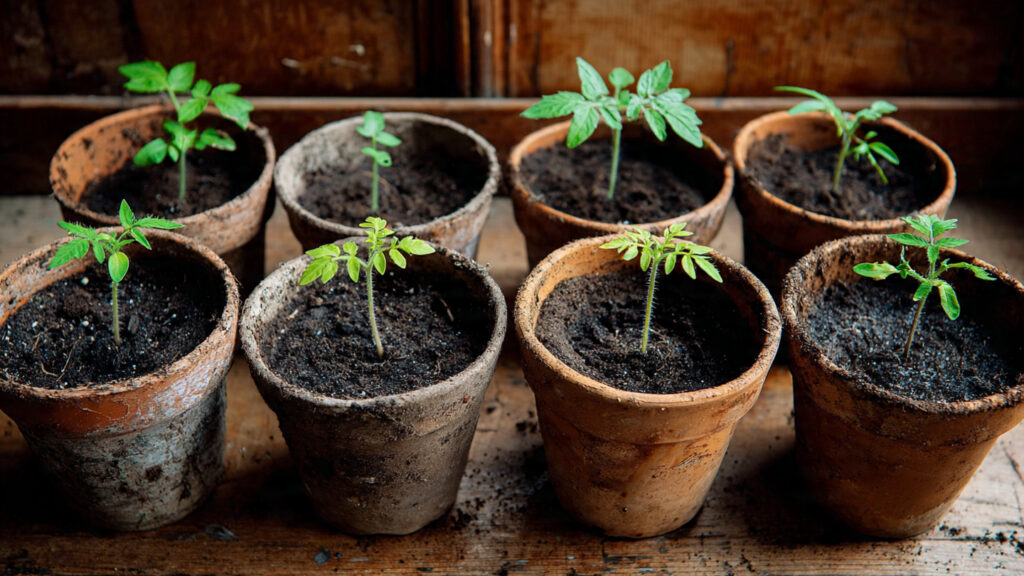
Few gardening experiences are as rewarding as growing tomatoes from tiny seedlings into healthy, fruit-bearing plants. However, one of the most critical steps in this process is transplanting seedlings into larger pots. Done correctly, this step ensures strong root growth, healthy foliage, and abundant fruit. Done incorrectly, it can cause stunted growth, shock, or even death of the young plants.
In this article, we’ll explain when and how to safely move tomato seedlings into larger pots, including tips to minimize transplant stress, care after potting, and strategies for continued healthy growth.
Why Transplanting Matters
Tomato seedlings start in small trays or seedling pots. While convenient for early growth, these containers quickly become limiting:
- Restricted root space – Roots need room to expand, or the plant may become root-bound.
- Nutrient limitations – Small pots hold limited soil and nutrients.
- Improved drainage and aeration – Larger pots provide better soil structure and oxygen for roots.
By transplanting seedlings at the right time, you allow them to develop a robust root system, supporting taller plants, stronger stems, and ultimately higher yields.
Signs Your Tomato Seedlings Are Ready to Move
Timing is crucial. Moving seedlings too early or too late can cause damage. Look for these signs:
- Two or more sets of true leaves – The first set of leaves after germination are cotyledons. True leaves indicate the plant is ready for more space.
- Healthy root system – Check for roots visible at the drainage holes or slightly circling the pot. Roots that are dense but not tangled indicate readiness.
- Sturdy stem – Seedlings should have stems thick enough to support themselves when gently touched.
- Rapid growth – If seedlings are growing faster than their current container can accommodate, it’s time to transplant.
Delaying transplanting can stress the plant, while moving seedlings too early may hinder their growth due to fragile root systems.
Choosing the Right Pot
The size and type of pot you choose is critical for successful transplantation. Consider the following:
- Pot size – A 4–6 inch pot is ideal for early transplanting, giving roots enough space to expand. Eventually, mature tomato plants may require 12 inches or larger.
- Drainage holes – Proper drainage prevents waterlogging, which can cause root rot.
- Material – Plastic, clay, or biodegradable pots all work. Plastic retains moisture better, while clay provides better aeration.
Using the correct pot ensures the seedling has a healthy environment to thrive without risk of disease or stress.
Preparing the Potting Mix
Tomatoes require well-draining, nutrient-rich soil. Preparing the right mix reduces transplant shock and promotes root growth.
- Soil composition – Mix equal parts of potting soil, compost, and perlite or sand for drainage.
- Fertilizer – Incorporate a slow-release balanced fertilizer or organic matter to provide essential nutrients.
- Moisture – Lightly water the soil before planting. This keeps it damp but not soggy, ensuring easy root establishment.
Healthy soil is the foundation for robust tomato growth.
Step-by-Step Transplanting Process
Follow these steps carefully to move your seedlings without causing damage:
1. Water Seedlings in Advance
Water the seedlings a few hours before transplanting. Moist soil reduces root damage and makes it easier to remove seedlings from their original containers.
2. Prepare the New Pot
Fill the new pot with a few inches of prepared soil. Make a small hole in the center large enough to accommodate the root ball.
3. Gently Remove Seedlings
- Turn the seedling container upside down, tap gently, and ease the seedling out by holding the leaves, not the stem.
- Avoid pulling on the delicate stem, which can break or bruise easily.
4. Plant Deeply
- Tomato seedlings can be planted deeper than they were in the original pot.
- Bury up to the first set of true leaves. This encourages additional root growth along the buried stem, producing a stronger plant.
5. Fill Around Roots
Gently fill in around the roots with soil, pressing lightly to remove air pockets. Avoid compacting the soil too firmly, as roots need oxygen to thrive.
6. Water Immediately
After transplanting, water thoroughly to help settle the soil and hydrate the seedling. Avoid overwatering, as the soil should remain damp but not soggy.
➡️ How to Grow Malabar Spinach from Cuttings for Fast, Easy Greens
➡️ How to Grow Super Delicious Cabbage at Home Without a Garden
➡️ How to Grow Bean Sprouts at Home in Plastic Bottles Easily (Step‑by‑Step Guide)
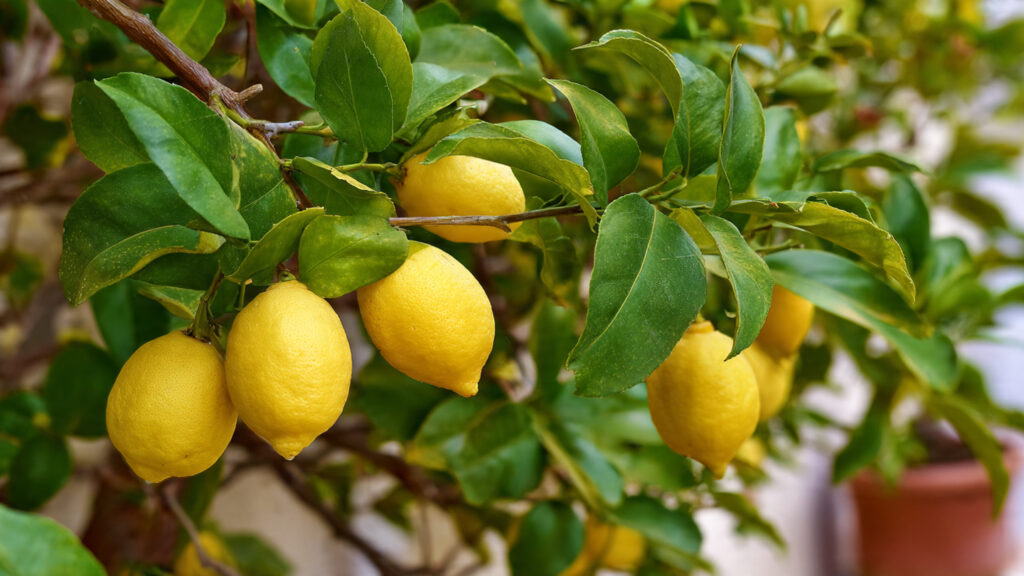
➡️ Why is Your Lemon Tree Blooming in the Heart of Winter?
➡️ Why Should Your Garden Have a Dedicated Pollinator Highway?
➡️ Why Do Your Fruit Trees Need a Winter Wash to Thrive in Spring?
➡️ How Can Rice Water Transform Your Fruits into Sweeter Delights?
➡️ Jumpstart Your Winter Garden: Seed Starting Under Lights
Post-Transplant Care
Transplanting can stress seedlings, so careful post-transplant care is essential:
- Provide shade temporarily – If outdoors, protect seedlings from direct sunlight for a few days. Gradually reintroduce full sun to prevent leaf scorch.
- Maintain humidity – Indoor seedlings may benefit from a light mist or cover for a few days to reduce water loss.
- Avoid fertilizing immediately – Wait a week or so before applying fertilizer to prevent burning delicate roots.
- Monitor for stress – Wilting or yellowing leaves may indicate transplant shock. Keep soil moist and provide gentle care.
With proper post-transplant care, seedlings recover quickly and resume vigorous growth.
Timing for Outdoor Transplants
If you’re planning to move seedlings outdoors, timing is critical:
- Temperature – Tomatoes are sensitive to frost. Transplant after the last frost date in your area.
- Hardening off – Gradually expose seedlings to outdoor conditions over 7–10 days. Start with a few hours of sunlight and increase exposure daily.
- Spacing – Plant seedlings 18–24 inches apart to allow proper airflow and root growth.
Hardening off and careful outdoor planting ensures strong, productive plants ready for the growing season.
Common Mistakes to Avoid
Even experienced gardeners can make mistakes during transplanting. Watch out for:
- Planting too shallow or too deep – Shallow planting limits root growth, while overly deep planting can rot stems.
- Handling stems instead of leaves – Pulling the stem can damage the plant irreversibly.
- Watering incorrectly – Overwatering causes root rot; underwatering stresses the plant.
- Skipping hardening off – Outdoor seedlings exposed suddenly to sun, wind, or temperature changes may wilt or die.
Avoiding these mistakes improves survival rates and ensures a strong start for your tomato plants.
Benefits of Proper Transplanting
When done correctly, transplanting offers multiple benefits:
- Stronger root system – Deep planting encourages new roots along the stem.
- Larger plants – Adequate space and nutrients allow faster growth.
- Higher yields – Healthy seedlings produce more flowers and fruit.
- Reduced disease risk – Proper soil, drainage, and spacing prevent root and leaf diseases.
Investing time and care in transplanting pays off with healthier, more productive tomato plants.
Pro Tips for Home Gardeners
- Label seedlings – Keep track of varieties and transplant dates.
- Use biodegradable pots – Reduce root disturbance when planting outdoors.
- Check for root health – Trim any damaged roots gently before transplanting.
- Avoid transplanting in extreme heat – Early morning or late afternoon is ideal.
- Rotate containers – Turn pots occasionally to ensure even sunlight and prevent leaning.
Following these tips ensures consistent success and healthy tomato growth.
Final Thoughts
Transplanting tomato seedlings into larger pots is a crucial step for any home gardener aiming for strong, productive plants. By recognizing the right timing, choosing appropriate pots, preparing nutrient-rich soil, and handling seedlings gently, you can minimize transplant shock and set your plants up for success.
With careful care, patience, and attention to detail, your seedlings will thrive in their new pots, developing robust root systems, vigorous foliage, and ultimately, abundant, juicy tomatoes. This simple yet essential step is the foundation of a healthy, fruitful tomato garden—whether you grow indoors, on a balcony, or in your backyard.