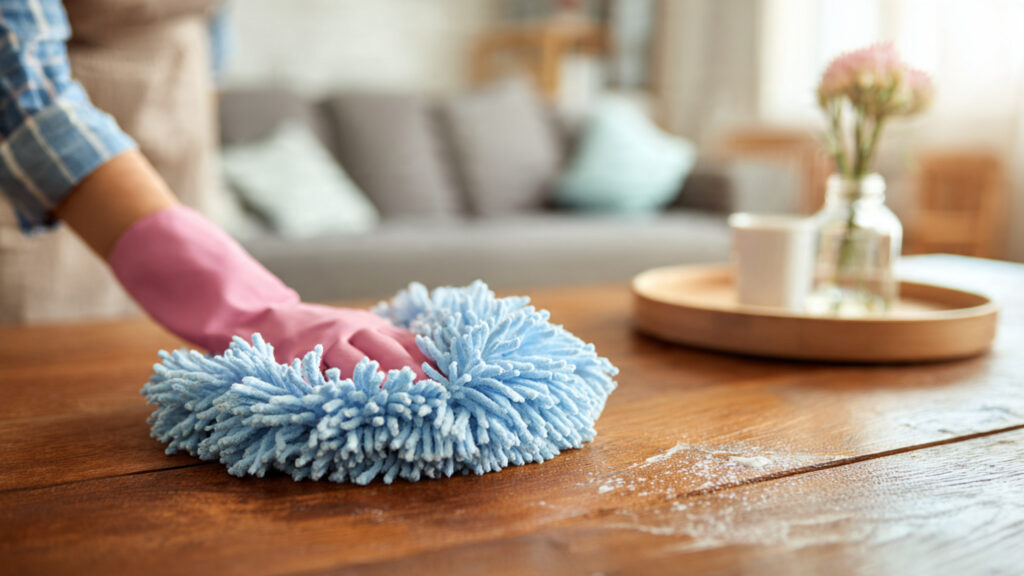
Cleaning your home can sometimes feel like a never-ending chore. Between dusting, scrubbing, and organizing, it’s easy to spend hours trying to get everything spotless. But what if there were a secret step that could make cleaning easier, faster, and more effective? This guide reveals a simple, often-overlooked technique that professional cleaners swear by—helping you save time, energy, and even frustration.
Why Most Cleaning Routines Take Too Long
Before revealing the secret, it’s important to understand why cleaning can feel so exhausting. Most people make these common mistakes:
- Skipping Preparation: Jumping straight into cleaning without organizing supplies or clearing surfaces can waste time.
- Inefficient Order: Cleaning randomly or starting with the dirtiest spots often spreads dirt around instead of removing it efficiently.
- Using the Wrong Products: Using products that aren’t suited for a particular surface can require repeated efforts.
- Neglecting Preventive Measures: Without preventing dust buildup or stains, you’re constantly backtracking.
Cleaning doesn’t have to be a marathon if you know the right strategy. This is where the secret step comes in.
The Secret Cleaning Step: “Pre-Treatment”
The key to faster, more effective cleaning is pre-treatment—treating surfaces with the right solution or method before doing the main cleaning work. Think of it like warming up before a workout: by loosening dirt, grime, and stains ahead of time, the actual cleaning becomes quicker and easier.
Mama Judy from home cleaning forums often calls it “the magic step” because it saves her hours every week.
How Pre-Treatment Works
Pre-treatment works by breaking down stubborn dirt and grime so you don’t have to scrub endlessly. Here’s what happens:
- Softens Stains: Letting cleaning solutions sit for a few minutes breaks down oils, grease, and dried spills.
- Loosens Dust and Debris: Dusting or spraying a light solution before wiping ensures the dirt comes off in one swipe.
- Reduces Friction: Less scrubbing means less effort and less wear on surfaces.
By doing this, you effectively cut cleaning time in half while achieving a more thorough result.
Step-by-Step Guide to Pre-Treating Your Home
Here’s how you can incorporate this secret step into your regular cleaning routine:
1. Clear and Organize
Before applying any cleaning solution, remove clutter and objects from the area. Dishes, books, and decorative items should be temporarily moved aside. This allows you to access every surface and prevents dirt from spreading to other areas.
2. Identify the Right Pre-Treatment Solution
Not all surfaces require the same approach. Here are some examples:
- Kitchen Counters and Stove Tops: Use a vinegar and water mix or a mild degreaser. Spray and let sit for 5–10 minutes.
- Bathroom Surfaces: A baking soda paste or an all-purpose bathroom cleaner on sinks, tubs, and tiles works wonders.
- Floors: Sweeping first, then spraying a gentle floor solution lets grime lift before mopping.
- Windows and Mirrors: Apply a glass cleaner or vinegar solution and allow a brief dwell time before wiping to prevent streaks.
3. Let It Sit
This is the crucial part: give your pre-treatment solution a few minutes to work. For most surfaces, 5–10 minutes is enough. For tougher grime, like oven residue or bathroom soap scum, 15–20 minutes might be necessary. Use this time to tackle smaller or easier tasks, like wiping down cabinet handles or dusting shelves.
4. Wipe or Scrub
After the pre-treatment has done its job, wiping or scrubbing becomes much easier. For instance:
- Stove tops often just need a soft sponge swipe rather than heavy scrubbing.
- Bathroom tiles require less elbow grease when the cleaner has softened soap scum.
- Floors become easier to mop, leaving fewer streaks and no missed spots.
Why Pre-Treatment Saves Time
The reason this step works so well is simple: it prevents wasted effort. Instead of fighting stubborn grime inch by inch, pre-treatment weakens it first. You can clean more surfaces in less time, and the results are cleaner surfaces with less effort.
Studies from professional cleaning services confirm that pre-treatment reduces cleaning time by 30–50%, especially for high-traffic areas. Many housekeepers swear by this technique to handle kitchens and bathrooms in half the usual time.
Additional Tips for Faster Cleaning
To maximize the benefits of pre-treatment, consider these expert tips:
➡️ How to Grow Malabar Spinach from Cuttings for Fast, Easy Greens
➡️ How to Grow Super Delicious Cabbage at Home Without a Garden
➡️ How to Grow Bean Sprouts at Home in Plastic Bottles Easily (Step‑by‑Step Guide)
➡️ Why is Your Lemon Tree Blooming in the Heart of Winter?
➡️ Why Should Your Garden Have a Dedicated Pollinator Highway?
➡️ Why Do Your Fruit Trees Need a Winter Wash to Thrive in Spring?
➡️ How Can Rice Water Transform Your Fruits into Sweeter Delights?
➡️ Jumpstart Your Winter Garden: Seed Starting Under Lights
1. Use Microfiber Cloths
Microfiber traps dust, hair, and grime more effectively than cotton or paper towels. Pairing microfiber with pre-treatment ensures dirt lifts on the first wipe.
2. Work from Top to Bottom
When cleaning, always start at a higher level (like shelves or counters) and move downward. Gravity causes dust and dirt to fall, so this ensures you’re not cleaning the same area twice.
3. Batch Similar Tasks
Clean all countertops, then all sinks, then all floors. Pre-treating surfaces in batches prevents switching back and forth, saving time and energy.
4. Invest in Multi-Surface Sprays
Using a single pre-treatment solution for multiple surfaces reduces clutter and the need for multiple bottles. A gentle all-purpose spray works for counters, cabinets, and appliances.
5. Keep Cleaning Supplies Handy
A well-stocked caddy with sprays, cloths, and scrubbers prevents trips back and forth. Efficiency is key when every minute counts.
Common Mistakes to Avoid
Even with pre-treatment, certain habits can waste time or reduce effectiveness:
- Skipping the Pre-Treatment: Rushing to wipe surfaces without letting solutions sit means extra scrubbing later.
- Over-Saturating Surfaces: Too much liquid can damage wood or leave streaks. Apply just enough solution to cover the area.
- Neglecting Tools: Using dirty cloths or sponges spreads dirt rather than removing it. Always rinse or replace cleaning tools regularly.
- Ignoring Safety: Always read product labels. Some surfaces, like marble or natural stone, require gentle solutions.
Real-Life Results
People who have incorporated pre-treatment into their cleaning routines notice a dramatic difference:
- Kitchen cleaning: Removing baked-on grease from stovetops now takes 2–3 minutes instead of 10–15.
- Bathroom scrubbing: Soap scum and limescale lift easily after letting cleaners sit, saving back strain and time.
- Dusting and surfaces: Pre-treating surfaces with a light mist of water or cleaner makes wiping dust faster and more effective.
This method isn’t just faster—it’s also less tiring. For busy households or anyone looking to simplify chores, pre-treatment is a game-changer.
Conclusion
Cleaning doesn’t have to be a laborious, time-consuming task. The secret to reducing effort and completing chores faster is pre-treatment. By preparing surfaces with the right solution and allowing it to work for a few minutes, you can dramatically cut down on scrubbing, wiping, and stress.
Incorporating this simple step into your regular routine makes cleaning more efficient, leaves surfaces sparkling, and frees up time for the things you enjoy. Remember Mama Judy’s rule: “A little preparation goes a long way.”
Next time you face a messy kitchen, a dusty living room, or a grimy bathroom, don’t reach for your sponge immediately. Pre-treat first, and you’ll be amazed at how much easier and faster the task becomes. With this secret step, cleaning becomes less of a chore and more of a satisfying, quick routine—giving you more time to enjoy your home without the stress of endless scrubbing.