If you love leafy greens that grow quickly, taste delicious, and thrive in warm weather, then Malabar spinach might become your new favorite crop. Unlike traditional spinach, this tropical vine flourishes in heat and humidity, making it perfect for home gardeners who struggle with summer greens bolting too quickly.
Most people grow Malabar spinach in garden beds or large containers. But there’s another smart, space-saving way to grow it at home — vertically, using simple supports and recycled containers. This alternative approach not only saves space but also increases yield and makes harvesting easier.
In this guide, you’ll learn a different and highly effective method to grow Malabar spinach successfully, even if you don’t have a traditional garden.
Why Choose Malabar Spinach?
Before diving into the method, let’s understand why this plant deserves a spot in your home garden.
Malabar spinach is:
- Heat tolerant
- Fast growing
- Highly productive
- Pest resistant
- Nutritious and versatile in cooking
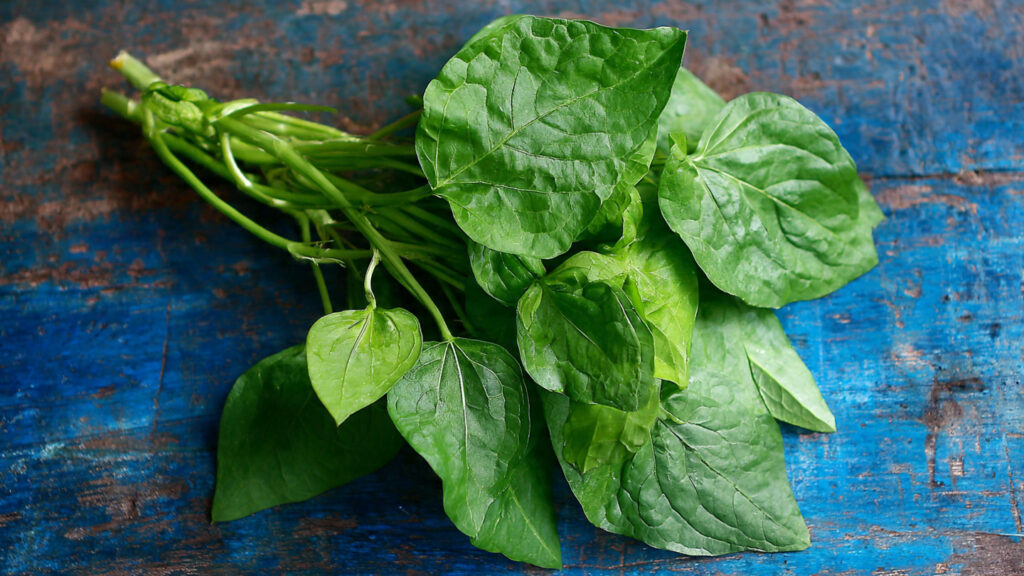
It produces thick, glossy green leaves and tender stems that are perfect for stir-fries, soups, curries, and smoothies. Unlike regular spinach, it doesn’t turn bitter in hot weather.
The Alternative Method: Vertical Climbing System in Containers
Instead of letting Malabar spinach sprawl across the ground, train it to grow vertically. This method works especially well for balconies, patios, rooftops, and small yards.
Why Vertical Growing Works Better
Growing Malabar spinach vertically:
- Saves space
- Improves air circulation
- Reduces pest and fungal problems
- Makes harvesting easier
- Encourages more vigorous growth
Because Malabar spinach is naturally a climbing vine, this method matches its growth habit perfectly.
What You’ll Need
You don’t need expensive equipment. Most materials are easily available at home.
- Large container (at least 12–16 inches deep)
- Well-draining potting mix
- Compost or organic fertilizer
- Bamboo sticks, metal rods, or a trellis
- Seeds or cuttings of Malabar spinach
- Watering can
Optional:
- Recycled plastic bottles (for drip watering system)
- Coco peat for better moisture retention
Step 1: Preparing the Container
Choose a sturdy container with drainage holes. Malabar spinach develops strong roots, so depth is important.
Fill it with a rich, loose soil mix:
- 50% garden soil
- 30% compost
- 20% sand or coco peat
The soil should be well-draining but moisture-retentive. This plant loves consistent moisture but does not tolerate waterlogging.
Step 2: Sowing Seeds or Planting Cuttings
You can grow Malabar spinach either from seeds or stem cuttings.
➡️ How to Grow Malabar Spinach from Cuttings for Fast, Easy Greens
➡️ How to Grow Super Delicious Cabbage at Home Without a Garden
➡️ How to Grow Bean Sprouts at Home in Plastic Bottles Easily (Step‑by‑Step Guide)
➡️ Why is Your Lemon Tree Blooming in the Heart of Winter?
➡️ Why Should Your Garden Have a Dedicated Pollinator Highway?
➡️ Why Do Your Fruit Trees Need a Winter Wash to Thrive in Spring?
➡️ How Can Rice Water Transform Your Fruits into Sweeter Delights?
➡️ Jumpstart Your Winter Garden: Seed Starting Under Lights
Growing from Seeds
- Soak seeds overnight to speed up germination.
- Plant them 1 inch deep in moist soil.
- Keep the soil consistently damp.
- Germination usually takes 7–14 days.
Growing from Cuttings (Faster Method)
- Cut a healthy 6–8 inch stem.
- Remove lower leaves.
- Plant directly into moist soil.
- Roots typically form within 10–14 days.
Cuttings give quicker results and ensure you get the exact variety you want.
Step 3: Installing the Vertical Support
This is the key difference in this “another way” method.
As soon as seedlings are about 6 inches tall, install vertical supports:
- Insert bamboo sticks into the soil.
- Tie horizontal strings between sticks.
- Or attach a trellis behind the container.
As the vine grows, gently guide it upward and tie loosely with soft garden ties if needed.
Malabar spinach can easily grow 6–10 feet tall when supported properly.
Step 4: Smart Watering Technique (Bottle Drip Method)
For consistent growth, steady moisture is essential.
An easy trick:
- Take a plastic bottle.
- Poke small holes in the cap.
- Fill with water and insert upside down into the soil.
This creates a slow drip system that keeps roots hydrated without overwatering. It’s especially useful in hot climates.
Step 5: Feeding for Continuous Harvest
Malabar spinach is a heavy feeder because it grows rapidly.
Every 2–3 weeks:
- Add compost around the base.
- Or use diluted liquid organic fertilizer.
- You can also use compost tea or banana peel fertilizer.
Avoid excessive nitrogen-only fertilizers — balanced nutrition promotes stronger stems and better leaf production.
Step 6: Pruning for More Leaves
Here’s a powerful tip many gardeners miss:
Regular harvesting encourages bushier growth.
- Pinch off the top growing tips once vines reach 1–2 feet.
- This stimulates side shoots.
- Harvest young leaves frequently.
The more you harvest, the more it grows.
Sunlight Requirements
Malabar spinach thrives in:
- Full sun (6–8 hours daily)
- Partial shade in extremely hot climates
In very hot regions, afternoon shade helps prevent leaf stress.
If you’re growing indoors near a sunny window or on a balcony, ensure it gets strong light daily.
Pest and Disease Control
One of the best things about Malabar spinach is its resilience.
However, occasionally you may see:
- Aphids
- Caterpillars
- Snails
Control naturally with:
- Neem oil spray
- Handpicking pests
- Mild soap spray
Good air circulation from vertical growing significantly reduces fungal issues.
Harvesting and Yield
You can begin harvesting within 30–45 days after planting.
Cut:
- Tender leaves
- Young stems
Avoid cutting more than one-third of the plant at a time.
With proper care, one plant can provide continuous harvest for several months.
Extra Tip: Growing in Limited Space
If you don’t have large containers, you can also:
- Use hanging buckets
- Recycle paint containers
- Create a vertical wall system with multiple pots
Since Malabar spinach climbs upward rather than spreading sideways, it’s perfect for small-space gardening.
Nutritional Benefits
Malabar spinach is rich in:
- Vitamin A
- Vitamin C
- Iron
- Calcium
- Antioxidants
It supports immunity, digestion, and overall health.
Its slightly mucilaginous texture also makes it excellent for thickening soups and stews naturally.
Why This Method Is Better Than Ground Growing
Traditional ground planting requires more space and can lead to tangled vines and soil-borne pests.
Vertical container growing offers:
- Cleaner leaves
- Easier maintenance
- Higher yield per square foot
- Better airflow
- Less disease
It’s ideal for urban gardeners and beginners alike.
Common Mistakes to Avoid
- Using shallow pots
- Overwatering without drainage
- Not providing support early
- Letting vines grow without pruning
- Ignoring regular feeding
Correct these and your Malabar spinach will thrive effortlessly.
Final Thoughts
Growing Malabar spinach at home doesn’t require a large garden or complicated setup. By using a vertical container method, you can maximize space, improve plant health, and enjoy continuous leafy harvests throughout the warm season.
This “another way” approach is simple, affordable, and highly productive — perfect for modern home gardeners who want fresh greens without hassle.