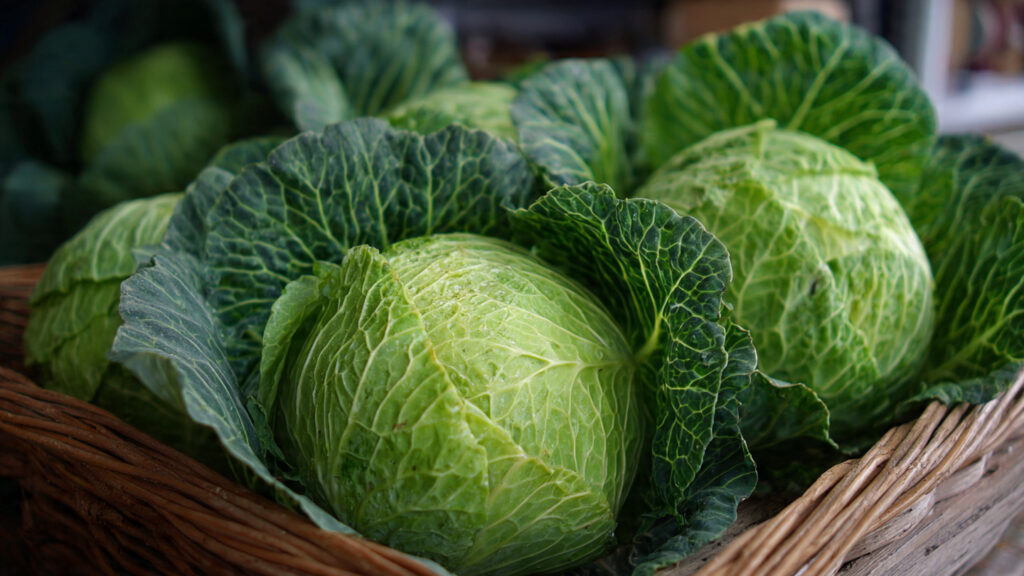
Cabbage is one of the most versatile and nutritious vegetables you can enjoy at home. Packed with vitamins, minerals, and antioxidants, it’s perfect for salads, soups, stir-fries, and even fermented foods like sauerkraut. But what if you don’t have a garden? No problem! You can grow super delicious cabbage at home using containers, pots, or even small balcony spaces. With the right techniques and a little care, you can harvest crisp, healthy cabbages without ever stepping foot in a traditional garden.
Here’s a step-by-step guide to growing cabbage at home without a garden.
Why Grow Cabbage at Home?
Growing cabbage at home offers many advantages:
- Freshness & Taste: Homegrown cabbage tastes far better than store-bought because it’s harvested at peak ripeness.
- Nutrition: You control the soil and fertilizers, ensuring your cabbage is free from harmful pesticides.
- Space-Saving: Cabbage can thrive in containers or balcony gardens, making it ideal for urban dwellers.
- Cost-Effective: Growing your own cabbage reduces grocery bills and gives you multiple harvests if done correctly.
- Satisfaction: Watching your cabbage grow from seed to full head is rewarding and educational.
Choosing the Right Variety
Not all cabbage varieties are suitable for container or small-space cultivation. Consider the following:
- Green Cabbage: Classic variety, crisp texture, and slightly sweet flavor.
- Red Cabbage: Adds color to dishes and contains higher antioxidant levels.
- Savoy Cabbage: Has crinkly leaves and a delicate texture.
For home growers, compact or short-season varieties are ideal. These take less space and mature faster, making them perfect for balcony or container gardening.
Step 1: Selecting Containers and Soil
Even without a garden, cabbage can thrive in containers with the right setup:
- Container Size: Use pots that are at least 12-15 inches deep and 12 inches wide. Cabbage develops a large root system, so space is essential.
- Drainage: Ensure your pots have drainage holes to prevent waterlogging.
- Soil: Use rich, well-draining potting mix. A mixture of compost, garden soil, and cocopeat or perlite works best.
- pH Level: Cabbage prefers slightly acidic to neutral soil (pH 6–7). You can test your soil and adjust with lime or sulfur if necessary.
Tip: Adding a slow-release organic fertilizer to the soil ensures consistent nutrients for healthy growth.
Step 2: Planting Seeds or Seedlings
You can start cabbage either from seeds or seedlings:
Starting from Seeds
- Fill a seed tray or small pots with potting mix.
- Sow seeds ¼ inch deep and cover lightly with soil.
- Water gently to moisten the soil.
- Place the tray in a warm, bright area or near a sunny window.
Seeds typically germinate in 5–10 days, depending on temperature and humidity. Once seedlings have 4–5 true leaves, they are ready for transplanting into larger pots.
Starting from Seedlings
If you purchase seedlings from a nursery, transplant them directly into your prepared container, ensuring the roots are well spread out.
Step 3: Positioning and Sunlight Requirements
Cabbage needs 6–8 hours of sunlight daily to grow well. Even on a balcony or terrace:
- Place the pots in a sunny spot.
- If sunlight is limited, supplement with grow lights to ensure healthy growth.
- Rotate containers occasionally to ensure all sides receive sunlight.
Tip: Consistent sunlight ensures tight, compact heads and rich green leaves.
Step 4: Watering and Feeding
Proper watering is key to growing crisp, tender cabbage:
- Watering: Keep the soil consistently moist but not soggy. Water deeply once a day or every other day depending on temperature.
- Mulching: Add a layer of organic mulch (like straw or dried leaves) on top to retain moisture and regulate soil temperature.
- Fertilizing: Use liquid compost or organic fertilizer every 2–3 weeks. High-nitrogen fertilizers promote leafy growth, while balanced fertilizers encourage solid head formation.
Avoid letting the soil dry out, as uneven watering can cause splitting or loose heads.
Step 5: Supporting Your Cabbage
Even in containers, cabbage benefits from support:
➡️ How to Grow Malabar Spinach from Cuttings for Fast, Easy Greens
➡️ How to Grow Super Delicious Cabbage at Home Without a Garden
➡️ How to Grow Bean Sprouts at Home in Plastic Bottles Easily (Step‑by‑Step Guide)
➡️ Why is Your Lemon Tree Blooming in the Heart of Winter?
➡️ Why Should Your Garden Have a Dedicated Pollinator Highway?
➡️ Why Do Your Fruit Trees Need a Winter Wash to Thrive in Spring?
➡️ How Can Rice Water Transform Your Fruits into Sweeter Delights?
➡️ Jumpstart Your Winter Garden: Seed Starting Under Lights
- Staking: If heads become large, use a small stake to prevent tipping.
- Space: Allow at least 12–18 inches between plants if you have multiple pots. Crowding reduces airflow and increases the risk of diseases.
Step 6: Controlling Pests and Diseases
Cabbage is prone to pests like aphids, cabbage worms, and whiteflies. Since you’re growing at home, pest management is easier:
- Inspect plants regularly for signs of infestation.
- Use organic pest control: neem oil spray, insecticidal soap, or manually removing pests.
- Maintain clean containers and tools to prevent fungal infections.
Good airflow and proper watering also reduce disease risk.
Step 7: Harvesting Your Cabbage
Cabbage is ready to harvest when the heads are firm, compact, and reach the desired size.
- Green cabbage typically takes 70–100 days from sowing.
- Red and Savoy varieties may take slightly longer.
- Use a sharp knife to cut the head at the base, leaving some outer leaves for potential regrowth of smaller side heads.
Tip: Harvest promptly; over-mature cabbage can split and lose flavor.
Step 8: Storing and Enjoying Your Harvest
Freshly harvested cabbage can be stored for 1–2 weeks in the refrigerator.
- Wrap heads in plastic or keep in a perforated bag to maintain moisture.
- Use outer leaves for soups, salads, or wraps.
- Experiment with fermenting to make sauerkraut or kimchi — homemade cabbage is perfect for these dishes.
Pro Tips for Home Gardeners
To grow super delicious cabbage like a pro:
- Rotate Containers: If you grow multiple crops, rotate them to prevent soil-borne diseases.
- Save Seeds: Collect seeds from your healthiest heads to grow next season.
- Use Companion Plants: Plant herbs like dill, thyme, or garlic nearby to repel pests naturally.
- Monitor Growth: Keep a journal of watering, feeding, and harvest dates to improve yields over time.
- Experiment with Varieties: Try growing different types to find your favorite flavor and texture for home cooking.
Benefits of Growing Cabbage at Home Without a Garden
Even without traditional gardening space, growing cabbage at home has several benefits:
- Accessibility: Fresh cabbage is always at hand for meals.
- Healthier Produce: You control soil, water, and fertilizers.
- Urban Gardening: Balcony or container gardening makes use of small spaces efficiently.
- Sustainable Living: Reduces dependence on store-bought vegetables and packaging waste.
Homegrown cabbage can be tastier, crunchier, and more nutritious than store-bought alternatives.
Conclusion: Grow Your Own Cabbage, Anytime, Anywhere
Growing cabbage at home without a garden is entirely possible with a little planning, patience, and the right techniques. By selecting the right variety, using containers with rich soil, providing sufficient sunlight, and following proper watering and fertilization routines, you can enjoy super delicious cabbage right from your balcony or kitchen.
Even if you live in a small apartment, container gardening allows you to reap the rewards of fresh, homegrown produce, connecting you to nature and improving your diet. So grab some seeds, pots, and compost, and start growing your very own cabbage today — your taste buds and health will thank you!