Apricots are not only delicious and nutritious, but they are also one of the most rewarding fruit trees to grow at home. While many people buy apricot saplings from nurseries, did you know you can grow your very own apricot tree from a simple apricot pit? Growing apricots from seed is a satisfying project for beginners, providing you with hands-on experience in gardening while nurturing a tree from scratch. In this guide, we’ll walk you through a safe and effective method to grow apricots from pit right at home.
Why Grow Apricot from Pit?
Growing an apricot tree from a pit may seem intimidating, but it comes with unique advantages:
- Cost-Effective – No need to buy saplings or seeds separately; you can use the pits from apricots you already eat.
- Satisfying Learning Experience – Watching a tree grow from a seed is a rewarding process that teaches patience and gardening skills.
- Variety Potential – While commercial trees are often clones of specific varieties, growing from pit can sometimes yield unique flavors and textures.
- Health Benefits – Apricot trees offer vitamin-rich fruits, antioxidants, and a sense of accomplishment in home gardening.
Step 1: Select Healthy Apricot Pits
The first step in growing apricots from pit is choosing the right apricot. Look for:
- Ripe and Juicy Fruits – Choose fully ripe apricots with firm, unbruised flesh.
- Organic or Chemical-Free Options – If possible, select fruits without pesticide residues.
- Healthy Pits – Once you eat the fruit, extract the pit carefully. Avoid any cracked or damaged pits.
After removing the pit, rinse it thoroughly under running water to remove any fruit residue. Allow the pits to dry for a day, but avoid prolonged drying as this can reduce germination success.
Step 2: Stratification – A Critical Step for Germination
Apricot seeds require a process called stratification, which mimics natural winter conditions. This step helps break the seed’s dormancy and encourages sprouting. Here’s how to do it:
- Crack the Pit Carefully (Optional) – Some gardeners gently crack the hard shell using a nutcracker to speed up germination. Be careful not to damage the inner seed.
- Cold Moist Stratification – Place the pits in a plastic bag filled with slightly damp peat moss, vermiculite, or paper towels.
- Refrigerate – Store the bag in the refrigerator at 1–5°C (34–41°F) for 6 to 8 weeks.
- Check Regularly – Make sure the medium stays slightly moist. Too dry and the seed won’t germinate; too wet and it may rot.
This step is crucial because apricot pits naturally need winter cold to trigger growth in spring. Skipping stratification usually results in failed germination.
Step 3: Preparing for Planting
Once your pits have been stratified, it’s time to prepare for planting:
- Choose the Right Pot – Start with a small pot (6–8 inches in diameter) with good drainage holes.
- Use Well-Draining Soil – A mix of potting soil and sand or perlite works well. Apricot seeds prefer soil that isn’t too compacted or waterlogged.
- Plant the Pit – Bury the pit about 1–2 inches deep, with the pointed end facing down.
- Water Lightly – Ensure the soil is moist but not soggy. Overwatering can lead to seed rot.
Tip: Apricot seedlings grow best in bright, indirect sunlight. Avoid direct harsh sun initially to prevent scorching young sprouts.
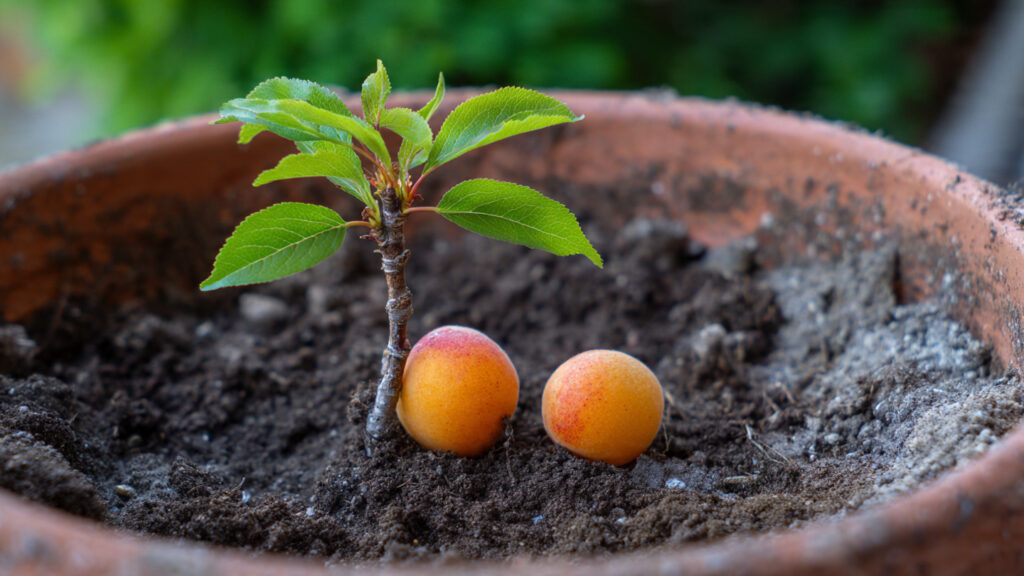
Step 4: Germination and Seedling Care
Patience is key at this stage. Apricot seeds can take anywhere from 2 to 6 weeks to sprout. During this period:
- Keep Soil Moist – Check the soil regularly and water lightly when the top feels dry.
- Maintain Warmth – Room temperatures around 20–25°C (68–77°F) are ideal for germination.
- Watch for Sprouts – Once a tiny shoot emerges, it’s the beginning of your new apricot tree!
When seedlings develop their first few sets of leaves, it’s time to give them a little more space to grow.
Step 5: Transplanting to a Larger Pot
After a few months, your apricot seedling will need more room:
- Select a Bigger Pot – A 12–14 inch pot with ample drainage.
- Prepare Fresh Soil – Mix potting soil with compost for nutrients.
- Transplant Carefully – Gently remove the seedling, keeping the root intact. Plant at the same depth as before.
- Water Well – After transplanting, water lightly to help the roots settle.
Tip: Avoid transplanting in extreme heat or cold. Early spring is ideal for moving your seedling to a larger container.
Step 6: Ongoing Care for Apricot Trees
Once your apricot tree is established, ongoing care is essential for healthy growth and eventual fruiting:
- Sunlight – Apricots need 6–8 hours of full sun daily. If growing indoors, place near a south-facing window.
- Watering – Deep watering once a week is better than frequent shallow watering. Young trees prefer slightly moist soil.
- Fertilization – Use balanced fertilizer or organic compost during the growing season to support development.
- Pruning – Shape the tree and remove dead or crowded branches to improve airflow and sunlight penetration.
- Pest Management – Watch for aphids, mites, or fungal infections. Homemade remedies like neem oil sprays are effective and safe.
Step 7: Patience Pays Off – Fruit Harvesting
Apricot trees grown from pits may take 3–5 years to bear fruit, but the wait is worth it. Remember:
- Trees grown from seed can differ slightly from the parent fruit.
- Regular care and pruning increase chances of better yields.
- Harvest when the apricots are firm but slightly soft to the touch and fully colored.
Common Mistakes to Avoid
- Skipping Stratification – Without cold treatment, germination rates drop dramatically.
- Overwatering – Seedlings are prone to rot in soggy soil.
- Planting Too Deep – This can prevent sprouting. Keep the pit about 1–2 inches deep.
- Neglecting Sunlight – Apricot trees need bright sunlight for healthy growth.
Tips for Beginner Gardeners
- Label Your Pots – Keep track of your seeds and planting dates.
- Use Organic Soil – Avoid chemical fertilizers in early stages.
- Be Patient – Growing from pit is a slow process, but extremely rewarding.
- Document Growth – Take photos or notes to monitor progress and learn from experience.
Conclusion
Growing an apricot tree from a pit at home is a simple, safe, and effective method for beginners who are eager to explore gardening. By carefully selecting healthy pits, properly stratifying them, and providing the right care, anyone can enjoy nurturing a tree from seed to fruit. Not only does this process save money, but it also provides a satisfying learning journey and the joy of tasting fruits you’ve grown with your own hands.
➡️ How to Grow Malabar Spinach from Cuttings for Fast, Easy Greens
➡️ How to Grow Super Delicious Cabbage at Home Without a Garden
➡️ How to Grow Bean Sprouts at Home in Plastic Bottles Easily (Step‑by‑Step Guide)
➡️ Why is Your Lemon Tree Blooming in the Heart of Winter?
➡️ Why Should Your Garden Have a Dedicated Pollinator Highway?
➡️ Why Do Your Fruit Trees Need a Winter Wash to Thrive in Spring?
➡️ How Can Rice Water Transform Your Fruits into Sweeter Delights?
➡️ Jumpstart Your Winter Garden: Seed Starting Under Lights
Start today, and in a few years, your apricot tree could reward you with sweet, juicy fruits, turning your home gardening dream into reality.