Chikoo, also known as sapodilla (Manilkara zapota), is a tropical fruit tree prized for its sweet, caramel-flavored fruit and hardy nature. While often grown in orchards and gardens in tropical regions, chikoo can also be cultivated at home from seeds, providing a rewarding gardening experience for beginners and experienced gardeners alike. Sprouting chikoo seeds may seem daunting at first, but with the right technique, patience, and care, you can enjoy fast and successful germination using a simple method.
This guide will walk you through everything you need to know to sprout chikoo seeds quickly and efficiently, ensuring healthy seedlings ready for planting and long-term growth.
Understanding Chikoo Seeds
Before beginning, it’s important to understand the nature of chikoo seeds:
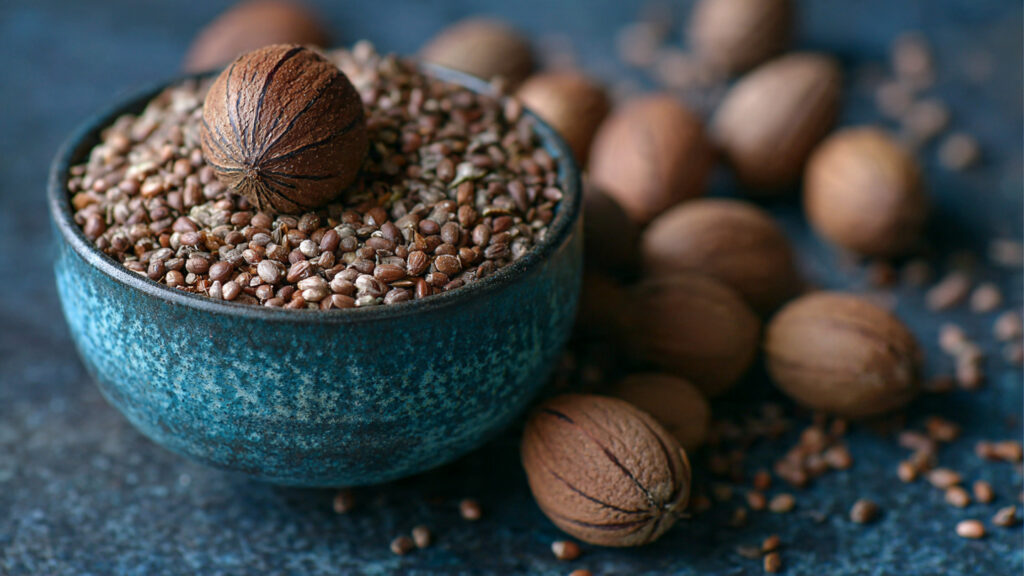
- Seed Structure: Chikoo seeds are small, brown, and oval-shaped, encased in a hard seed coat. Each fruit can contain multiple seeds.
- Viability: Fresh seeds germinate faster and have higher success rates. Seeds lose viability quickly, so use seeds from fully ripened fruits harvested recently.
- Germination Time: Chikoo seeds typically take 2–6 weeks to sprout, depending on temperature, moisture, and seed quality.
Knowing the seed’s requirements is the first step toward a successful sprouting process.
Selecting and Preparing Chikoo Seeds
The first step in successful sprouting is careful seed selection:
- Choose Fresh Seeds: Select fully mature chikoo fruits. Remove seeds from the fruit and clean them thoroughly.
- Remove Pulp: Rinse seeds under running water to remove any fruit residue, as leftover pulp can encourage fungal growth.
- Dry Slightly: Allow seeds to air-dry for a few hours but not completely, as overly dry seeds may lose viability.
Proper preparation reduces the risk of disease and improves germination rates.
Choosing a Simple Sprouting Method
Several methods exist for sprouting seeds, but the fast and simple method involves using moist paper towels and a warm environment:
Materials Needed:
- Fresh chikoo seeds
- Paper towels or cotton cloth
- A shallow plate or tray
- Plastic bag or transparent cover
- Warm, draft-free location
This method is easy to set up at home, requires minimal equipment, and encourages quick germination.
Step-by-Step Guide to Sprouting Chikoo Seeds
Step 1: Moisten the Paper Towel
- Wet the paper towel with clean water, then wring out excess moisture. The towel should be damp but not dripping.
- Lay the damp towel flat on a plate or tray.
This moisture provides the hydration necessary for the seed to break dormancy.
Step 2: Place the Seeds
- Arrange the chikoo seeds on the damp towel, leaving at least 1 inch of space between each seed to allow air circulation and prevent mold.
- Cover the seeds with another damp towel or fold the existing towel over them.
Spacing ensures that each seed has enough room to develop without crowding.
Step 3: Cover and Maintain Humidity
- Place the plate inside a plastic bag or cover with a transparent lid. This helps retain humidity, which is crucial for seed germination.
- Ensure that the plastic does not touch the seeds directly, as this can cause uneven moisture or rot.
Maintaining a humid environment accelerates the germination process.
Step 4: Provide Warmth
- Keep the seeds in a warm, draft-free location. Ideal temperatures are 75–85°F (24–29°C).
- Avoid placing seeds in direct sunlight, which may overheat them and hinder sprouting.
Warmth stimulates enzyme activity within the seeds, encouraging the embryo to grow.
Step 5: Monitor and Maintain Moisture
- Check the seeds daily. If the towel begins to dry, lightly mist with water to maintain consistent moisture.
- Remove any seeds that show signs of mold or rot to protect healthy seeds.
Consistent moisture is critical; too dry, and seeds won’t sprout; too wet, and they may rot.
Step 6: Germination Observation
- Within 2–3 weeks, you should notice the seeds beginning to split, with a small root (radicle) emerging.
- The cotyledons (first leaves) will start to develop shortly after the root emerges.
Patience is key, but using this method significantly speeds up the process compared to planting directly in soil.
Transplanting Sprouted Seeds
Once the seeds have sprouted, it’s time to move them into soil:
➡️ How to Grow Malabar Spinach from Cuttings for Fast, Easy Greens
➡️ How to Grow Super Delicious Cabbage at Home Without a Garden
➡️ How to Grow Bean Sprouts at Home in Plastic Bottles Easily (Step‑by‑Step Guide)
➡️ Why is Your Lemon Tree Blooming in the Heart of Winter?
➡️ Why Should Your Garden Have a Dedicated Pollinator Highway?
➡️ Why Do Your Fruit Trees Need a Winter Wash to Thrive in Spring?
➡️ How Can Rice Water Transform Your Fruits into Sweeter Delights?
➡️ Jumpstart Your Winter Garden: Seed Starting Under Lights
Step 1: Prepare Pots
- Use small pots with well-draining soil, ideally a mixture of garden soil, compost, and sand or perlite.
- Ensure the pot has proper drainage holes to prevent waterlogging.
Step 2: Handle Sprouts Carefully
- Gently lift each sprouted seed with tweezers or fingers, taking care not to damage the tender root.
- Plant the seed root-down about 1 inch deep into the soil.
Step 3: Water and Care
- Water lightly to settle the soil around the seedling.
- Place pots in a warm location with indirect sunlight. Avoid harsh, direct sun for young seedlings.
Proper transplanting ensures seedlings survive and continue growing vigorously.
Caring for Young Chikoo Seedlings
Seedlings require consistent care to grow into strong plants:
- Watering: Keep soil moist but not waterlogged. Reduce watering frequency slightly as seedlings establish roots.
- Light: Provide bright indirect sunlight. If grown indoors, supplement with fluorescent lights for 12–14 hours per day.
- Fertilization: Once seedlings have 3–4 true leaves, feed lightly with diluted balanced fertilizer (NPK 10-10-10).
- Air Circulation: Ensure good airflow around seedlings to prevent fungal infections.
Consistent care during this stage determines the strength and health of the future tree.
Transplanting to Larger Pots or Garden
As the seedlings grow, they can be moved to larger containers or planted outdoors in suitable climates:
- Container Gardening: Use a pot at least 12–16 inches in diameter with well-draining soil for long-term growth.
- Outdoor Planting: Chikoo prefers tropical or subtropical climates. Plant in a sunny, well-drained location with regular watering.
- Spacing: If planting multiple trees, maintain at least 20–25 feet between trees to allow full canopy development.
Proper transplanting ensures optimal growth and healthy fruiting in the future.
Common Problems and How to Avoid Them
Even with simple methods, issues can arise:
- Fungal Growth on Paper Towels: Prevent by maintaining proper air circulation and avoiding excessive moisture.
- Seed Rot: Ensure seeds are not soaked for too long before germination.
- Slow Germination: Use fresh seeds and maintain consistent warmth and moisture.
- Pest Infestation: Once transplanted, monitor seedlings for aphids or spider mites and treat early.
Early detection and simple preventive measures ensure successful sprouting.
Advantages of Using This Simple Sprouting Method
- Fast Germination: Seeds sprout faster than direct sowing in soil.
- High Success Rate: Controlled moisture and warmth improve germination percentages.
- Easy Monitoring: You can see which seeds are viable before planting in soil.
- Space-Saving: Ideal for indoor gardeners with limited space.
This method combines speed, simplicity, and effectiveness, making it perfect for beginners.
Conclusion
Sprouting chikoo seeds using a simple paper towel method is an easy, fast, and effective way to start your journey toward growing your own sapodilla trees at home. By selecting fresh seeds, maintaining proper moisture, warmth, and humidity, and transplanting seedlings carefully, you can enjoy healthy, vigorous chikoo plants ready for long-term growth.
With consistent care, these seedlings will eventually grow into fruiting trees, providing sweet, tropical fruits and a rewarding gardening experience. This method is ideal for beginners, urban gardeners, and anyone looking to enjoy homegrown chikoo without the hassle of complicated germination techniques.
Starting from seeds not only gives you control over the quality of your future trees but also offers a deep sense of satisfaction as you watch tiny seeds transform into thriving plants. Using this fast and simple method, you can grow chikoo successfully year-round and take the first step toward your own tropical fruit garden at home.