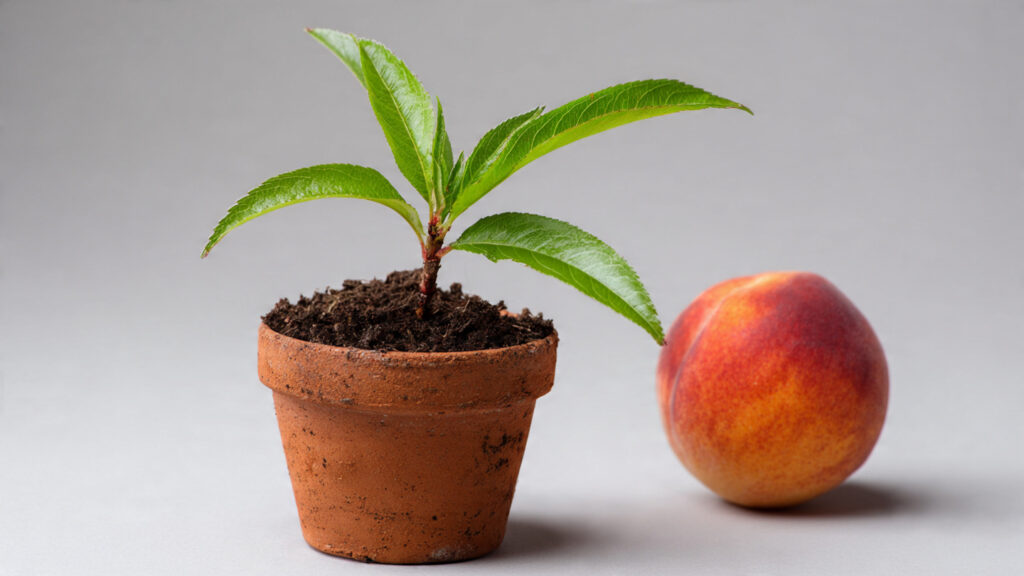
Growing a peach tree from seed is one of the most satisfying gardening experiences. Watching a tiny seed transform into a thriving fruit tree connects you directly to nature’s life cycle. While many gardeners believe germinating peach seeds is complicated, the truth is that with a few simple and practical steps, you can successfully sprout them at home without any advanced techniques.
Peaches, scientifically known as Prunus persica, are delicious stone fruits that can be grown in many climates with proper care. If you have enjoyed a juicy peach and wondered whether you could grow your own tree from the pit, this guide will walk you through the entire process in an easy and beginner-friendly way.
Why Grow Peaches from Seed?
Growing peaches from seed offers several benefits:
- It is cost-effective compared to buying saplings.
- You get the joy of nurturing a plant from the very beginning.
- Seed-grown trees can sometimes adapt better to your local climate.
- It’s a rewarding educational project for children and families.
Keep in mind that peach trees grown from seed may not produce fruit identical to the parent fruit. However, they often yield delicious results and make strong landscape additions.
Step 1: Choose the Right Peach
The process begins with selecting a healthy, ripe peach. Ideally:
- Choose a fully ripe, flavorful fruit.
- Avoid peaches that are unripe or damaged.
- If possible, select peaches grown locally, as they are better adapted to your climate.
Fresh seeds have higher germination rates, so try to begin the process soon after enjoying the fruit.
Step 2: Clean the Peach Pit Properly
After eating the peach, you’ll be left with the hard inner stone (pit). Proper cleaning is essential:
- Remove all fruit flesh from the pit.
- Rinse it thoroughly under running water.
- Let it dry for a few hours to prevent mold growth.
Do not leave any pulp attached, as it can cause fungal issues during germination.
Step 3: Crack the Pit (Optional but Helpful)
Inside the hard outer pit lies the actual seed (kernel). While you can plant the entire pit, cracking it slightly increases the chances of faster germination.
- Use a nutcracker carefully.
- Apply gentle pressure to avoid damaging the seed inside.
- Remove the almond-shaped kernel.
If you prefer a simpler method, you can skip cracking and plant the whole pit. Germination may take slightly longer but can still succeed.
Step 4: Cold Stratification – Mimicking Nature
Peach seeds require a period of cold treatment known as stratification. In nature, seeds fall to the ground in autumn and experience winter before sprouting in spring. You can replicate this easily at home.
Simple Refrigerator Method:
- Wrap the seed in a damp paper towel.
- Place it inside a plastic zip-lock bag.
- Store the bag in the refrigerator (not freezer).
- Keep it there for 6–8 weeks.
Check occasionally to ensure the towel remains slightly moist but not soaked. Too much moisture can cause mold.
After several weeks, you may notice the seed beginning to split and sprout a small root.
Step 5: Prepare the Planting Container
Once the seed has sprouted (or completed cold treatment), it’s time to plant it.
Choose:
➡️ How to Grow Malabar Spinach from Cuttings for Fast, Easy Greens
➡️ How to Grow Super Delicious Cabbage at Home Without a Garden
➡️ How to Grow Bean Sprouts at Home in Plastic Bottles Easily (Step‑by‑Step Guide)
➡️ Why is Your Lemon Tree Blooming in the Heart of Winter?
➡️ Why Should Your Garden Have a Dedicated Pollinator Highway?
➡️ Why Do Your Fruit Trees Need a Winter Wash to Thrive in Spring?
➡️ How Can Rice Water Transform Your Fruits into Sweeter Delights?
➡️ Jumpstart Your Winter Garden: Seed Starting Under Lights
- A pot at least 8–10 inches deep.
- Containers with drainage holes.
- Well-draining potting mix.
Peach seeds do not tolerate waterlogged soil. Use a mix of garden soil, compost, and a little sand or perlite for proper drainage.
Step 6: Planting the Seed
Plant the germinated seed carefully:
- Make a hole about 1–2 inches deep.
- Place the seed root-side down.
- Cover lightly with soil.
- Water gently.
Keep the soil moist but not soggy. Place the pot in a warm area with indirect sunlight.
Within a few weeks, you should see a small green shoot emerging from the soil.
Step 7: Provide Proper Sunlight
Peach seedlings require plenty of light to grow strong and healthy.
- Place them in a sunny window indoors.
- Provide at least 6 hours of sunlight daily.
- If growing outdoors, choose a bright but protected spot.
Insufficient sunlight can cause weak, leggy growth.
Step 8: Maintain Proper Watering
Watering is crucial during early growth stages:
- Keep soil consistently moist.
- Avoid overwatering.
- Ensure good drainage.
Check the top inch of soil before watering. If it feels dry, water gently.
Step 9: Gradually Acclimate to Outdoors
When the seedling grows 8–12 inches tall and weather conditions are favorable, begin hardening it off.
- Place it outside for a few hours daily.
- Gradually increase exposure over a week.
- Avoid sudden temperature changes.
This step strengthens the plant before permanent outdoor planting.
Step 10: Transplanting to the Ground
Once the plant is strong enough, you can transplant it to its final location.
Choose a site that:
- Receives full sunlight.
- Has well-drained soil.
- Has enough space for root spread.
Peach trees can grow 10–20 feet tall depending on variety and pruning. Dig a hole twice the size of the root ball and plant at the same depth it was in the pot.
Water thoroughly after transplanting.
Simple Care Tips for Young Peach Trees
After successful germination and planting, follow these easy care practices:
1. Fertilization
Use balanced fertilizer in early spring. Avoid excessive nitrogen, which encourages leaf growth over fruit production.
2. Pruning
Prune lightly during early years to encourage a strong structure.
3. Mulching
Apply organic mulch around the base to retain moisture and suppress weeds.
4. Pest Monitoring
Watch for common pests such as aphids and borers. Early detection helps prevent serious damage.
How Long Before You See Fruit?
Patience is key. Peach trees grown from seed typically take 3–4 years to produce fruit. The wait is worthwhile when you harvest peaches from a tree you started yourself.
Common Mistakes to Avoid
Even though the process is simple, avoid these errors:
- Skipping cold stratification.
- Overwatering seeds.
- Using heavy clay soil.
- Planting in full shade.
- Damaging the seed during cracking.
By avoiding these common mistakes, you increase your success rate significantly.
Can You Germinate Peach Seeds Without Refrigeration?
In colder climates, you can plant seeds directly outdoors in autumn. Natural winter temperatures provide the required chilling period. However, in warmer regions where winters are mild, refrigeration ensures reliable germination.
Bonus Tip: Testing Seed Viability
If you’re unsure whether a seed is viable:
- Place it in a bowl of water.
- Viable seeds often sink.
- Discard floating seeds.
Though not foolproof, this method gives a general indication of seed health.
Why This Method Works
The simplicity of this approach works because it follows nature’s pattern:
- Clean the seed.
- Provide moisture.
- Offer cold treatment.
- Give warmth and sunlight for growth.
By imitating seasonal cycles, you remove the need for complicated gardening techniques or expensive equipment.
Final Thoughts
Successfully germinating peach seeds at home is easier than many people think. With patience, proper cleaning, cold stratification, and basic care, you can transform a simple peach pit into a thriving tree. The process does not require advanced tools or professional gardening skills—just consistency and attention.
Growing your own peach tree from seed is a fulfilling journey that rewards you with beauty, shade, blossoms, and eventually delicious fruit. If you follow these easy steps, you’ll be well on your way to enjoying homegrown peaches without any complicated techniques.