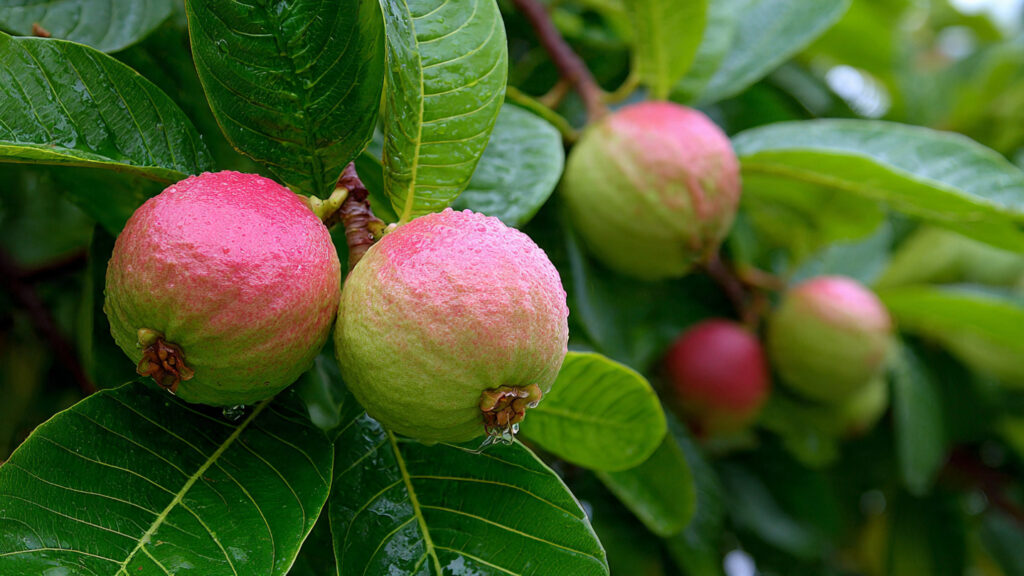
prized for their sweet, aromatic flavor, high vitamin C content, and versatility in culinary uses—from fresh eating to jams, juices, and desserts. While many people assume guavas require large orchards or complex care, with the right approach, home gardeners can cultivate healthy, productive guava plants in their backyard or even in large containers. This step-by-step guide will walk you through everything you need to know to grow a strong, high-quality guava plant.
Step 1: Choosing the Right Variety
The first step in growing a superior guava plant is selecting the right variety. Guavas come in different types, including tropical, subtropical, and dwarf varieties. Tropical guavas thrive in warm climates, while subtropical varieties can tolerate light frost. For home gardens, some popular choices include:
- Allahabad Safeda – Known for its large, sweet fruits and strong aroma.
- Sardar – Produces medium-sized, tasty fruits with minimal seeds.
- Lucknow 49 – Early-bearing and suitable for small gardens.
If space is limited, consider dwarf varieties that produce high-quality fruits but remain compact. Choosing a variety suited to your climate and space ensures better growth and higher yields.
Step 2: Selecting the Right Site
Guava plants thrive in full sunlight. They need at least 6–8 hours of direct sun daily to produce flavorful fruits. A sunny location also helps reduce fungal issues. When choosing a site:
- Ensure good drainage; guavas dislike waterlogged soil.
- Avoid areas prone to heavy frost if growing tropical varieties.
- Provide enough space—guava trees can grow 10–15 feet tall, so plant at least 8–10 feet away from walls or other plants.
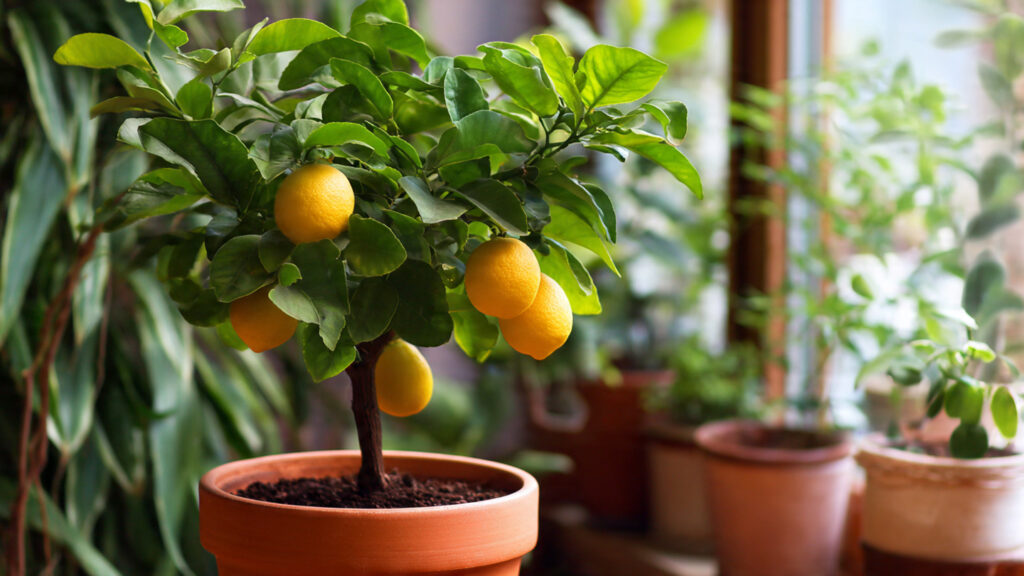
If planting in a container, select a large pot (at least 18–24 inches in diameter) with drainage holes.
Step 3: Preparing the Soil
Healthy soil is crucial for high-quality guava plants. Guavas grow well in loamy, sandy, or alluvial soils with good drainage. The ideal soil pH is between 5 and 7. For optimal growth:
- Mix compost or well-rotted manure into the soil to provide nutrients.
- If soil is heavy clay, add sand or perlite to improve drainage.
- Avoid overly acidic or saline soils, which can stunt growth.
A nutrient-rich, well-draining soil encourages robust root systems and better fruit development.
Step 4: Planting Guava Seeds or Saplings
You can grow guava either from seeds or from nursery saplings. Both methods have advantages:
From Seeds:
- Soak seeds in water for 24 hours before planting.
- Plant seeds ½ inch deep in seed trays or small pots with a light, well-draining potting mix.
- Keep the soil moist and warm; seeds typically germinate in 2–8 weeks.
- Seed-grown guavas take longer to bear fruit (2–5 years), but are resilient.
From Saplings:
- Choose healthy nursery saplings with strong stems and well-developed roots.
- Dig a hole twice the size of the root ball, place the sapling, and fill with enriched soil.
- Water thoroughly to settle the soil around the roots.
- Saplings often produce fruits within 1–2 years.
For faster fruiting and reliable quality, many home gardeners prefer planting nursery saplings.
Step 5: Watering and Mulching
Guava plants need consistent moisture, especially during the first year. While they are drought-tolerant once established, young plants thrive with regular watering. Best practices include:
- Water deeply once or twice a week depending on weather.
- Reduce watering during the dormant winter season.
- Mulch around the base with organic materials like straw, dried leaves, or coconut husk to retain moisture, regulate soil temperature, and suppress weeds.
Avoid overwatering, as stagnant water can cause root rot and fungal diseases.
Step 6: Fertilization
A high-quality guava plant requires proper nutrition to produce sweet, large fruits. Fertilization should be tailored to the plant’s growth stage:
- Young Plants (First Year): Use a balanced fertilizer (NPK 10:10:10) monthly to promote strong root and leaf growth.
- Mature Plants (After First Year): Apply compost or manure twice a year. Use higher potassium fertilizers to encourage flowering and fruiting.
- Micronutrients: Guava plants benefit from zinc, iron, and magnesium. Foliar sprays can correct deficiencies.
Regular feeding ensures the plant develops sturdy branches and abundant flowers for high-quality fruits.
➡️ How to Grow Malabar Spinach from Cuttings for Fast, Easy Greens
➡️ How to Grow Super Delicious Cabbage at Home Without a Garden
➡️ How to Grow Bean Sprouts at Home in Plastic Bottles Easily (Step‑by‑Step Guide)
➡️ Why is Your Lemon Tree Blooming in the Heart of Winter?
➡️ Why Should Your Garden Have a Dedicated Pollinator Highway?
➡️ Why Do Your Fruit Trees Need a Winter Wash to Thrive in Spring?
➡️ How Can Rice Water Transform Your Fruits into Sweeter Delights?
➡️ Jumpstart Your Winter Garden: Seed Starting Under Lights
Step 7: Pruning for Quality
Pruning is essential to maintain the shape, health, and fruit quality of guava plants. Proper pruning encourages airflow, reduces disease, and directs energy into fruit production.
- Remove dead, damaged, or crowded branches during the dormant season.
- Thin out interior branches to allow sunlight to penetrate.
- Shorten long shoots to promote lateral growth and more fruiting sites.
- Remove excessive flowers and small fruits early to concentrate energy on fewer, larger fruits.
Regular pruning ensures healthier plants and sweeter, juicier guavas.
Step 8: Pest and Disease Management
Guava plants are susceptible to pests like fruit flies, aphids, and mealybugs, as well as fungal diseases such as anthracnose and root rot. To protect your plant:
- Inspect regularly for pests and remove infested fruits or leaves.
- Use organic sprays like neem oil or insecticidal soap to control insects.
- Maintain proper spacing and pruning to improve airflow and reduce fungal issues.
- Avoid overhead watering to minimize leaf wetness, which can encourage diseases.
Preventive care is more effective than reactive treatment, especially for home gardeners.
Step 9: Flowering and Fruit Setting
Guavas typically start flowering in their second year if grown from saplings. Flowers appear in clusters and are fragrant. To encourage better flowering:
- Ensure full sun exposure and balanced nutrition.
- Apply a phosphorus-rich fertilizer before flowering to promote blooms.
- Hand-pollination can help increase fruit set in areas with low pollinator activity.
Healthy flowers lead to well-formed, high-quality fruits.
Step 10: Harvesting
Knowing when to harvest is crucial for optimal flavor. Guava fruits are ready when:
- They change from dark green to a light green or yellowish shade.
- The fruit yields slightly to gentle pressure.
- They emit a sweet aroma.
Harvest carefully to avoid bruising, which can shorten shelf life. Frequent picking encourages more flowers and fruits to develop.
Step 11: Container Growing Tips
For gardeners with limited space, guavas can thrive in large pots:
- Use a container at least 18–24 inches deep and wide.
- Ensure excellent drainage to prevent waterlogging.
- Fertilize more frequently than ground-grown plants, as nutrients leach faster from pots.
- Rotate the pot occasionally to ensure even sun exposure.
Container-grown guavas may require more attention but can produce equally flavorful fruits.
Step 12: Seasonal Care
Guava plants need slightly different care through the year:
- Spring: Fertilize, prune, and inspect for pests.
- Summer: Ensure consistent watering and shade young plants during extreme heat.
- Autumn: Mulch heavily and continue pest monitoring.
- Winter: Reduce watering, protect from frost, and remove fallen leaves.
Seasonal care supports continuous growth and fruit production.
Final Thoughts
Growing a high-quality guava plant at home is achievable with careful planning and attention. By selecting the right variety, preparing nutrient-rich soil, planting correctly, and following proper care routines—including watering, fertilization, pruning, and pest management—you can enjoy abundant, sweet, and aromatic guavas from your own garden.
Home-grown guavas not only provide delicious fruit but also bring joy and a sense of accomplishment. With patience and dedication, even beginner gardeners can cultivate strong, healthy guava plants that thrive for years, providing fresh, nutritious fruits straight from your backyard.