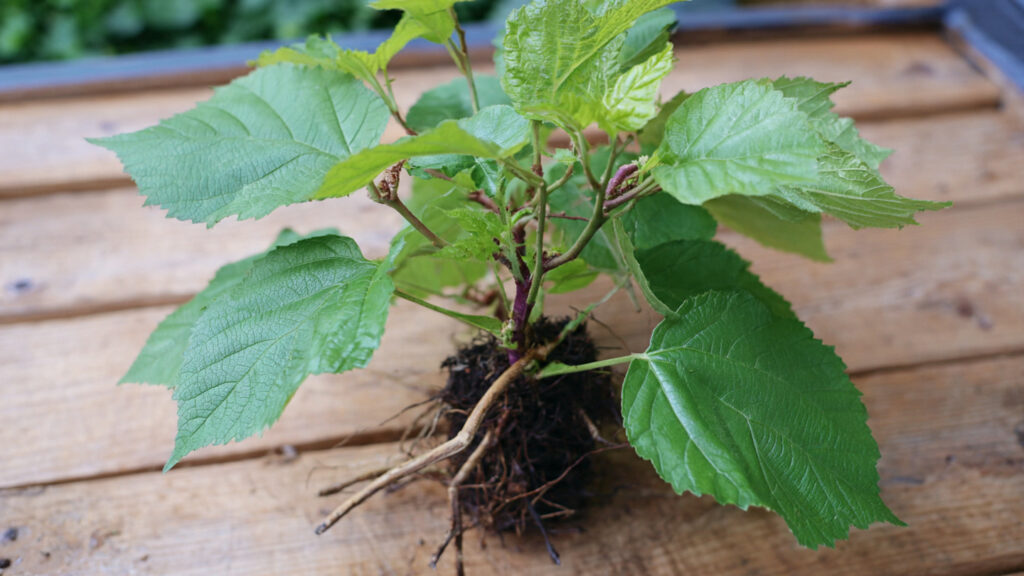
Mulberry trees are a treasure in any garden. Known for their luscious fruits, fast growth, and adaptability, mulberries are a favorite among gardeners who enjoy fresh berries and shade-giving trees. But buying multiple trees can be expensive, and for budget-conscious gardeners, propagating your own trees is the most efficient solution. The good news is that mulberries are incredibly easy to multiply using cuttings, a method that requires minimal investment yet yields excellent results. In this guide, we’ll walk you through an easy, step-by-step trick to multiply mulberries from cuttings, ensuring you can expand your garden without stretching your wallet.
Why Propagate Mulberries from Cuttings?
Propagating mulberries from cuttings is not only economical but also highly effective. Unlike seeds, which may take years to bear fruit and often produce trees with variable characteristics, cuttings guarantee that the new plant is genetically identical to the parent. This means you’ll get the same delicious fruit and growth habits as your original mulberry tree.
Additionally, cuttings are faster to root than seeds and don’t require complex equipment. With a few simple materials that many gardeners already have at home, you can produce multiple new trees ready to plant in your garden or share with friends and family.
Choosing the Right Time for Mulberry Cuttings
The timing of taking cuttings plays a critical role in their success. The best periods are:
- Late winter to early spring: Before the buds start swelling, the wood is dormant and has the highest rooting potential.
- Summer hardwood cuttings: Mature wood from the previous year can also be used in summer, though success rates may vary.
Aim to use healthy, disease-free branches. Avoid branches that are too old and woody or those that show signs of disease, pests, or stress.
Selecting the Perfect Cutting
When selecting a cutting, look for these key characteristics:
- Length: Cuttings should be about 6 to 12 inches long. This is enough to include a few nodes, which are critical for root development.
- Thickness: Aim for branches about the diameter of a pencil (0.5 to 1 cm). Too thin, and they may dry out; too thick, and rooting may be slower.
- Healthy Nodes: Nodes are small bumps along the branch where leaves and buds grow. Ensure your cutting has at least 2-3 nodes, as these are where new roots will form.
Use a sharp, sterilized pruning knife or scissors to make a clean cut. A clean cut minimizes damage and reduces the risk of infections.
Preparing Your Mulberry Cutting
Once you have selected your cutting, preparation is key:
- Trim Leaves: Remove any leaves on the lower half of the cutting. Leaves can evaporate water, stressing the cutting before roots form.
- Wound the Base: Lightly scrape the bark at the base to expose the cambium layer. This encourages faster root formation.
- Optional – Rooting Hormone: Dip the base in rooting hormone powder or gel if available. This is optional but can increase success rates, especially for novice gardeners. Rooting hormones are inexpensive and widely available at garden centers.
Choosing the Right Growing Medium
Mulberry cuttings root best in a medium that retains moisture but drains well. Ideal choices include:
- A mixture of sand and garden soil (50:50)
- Perlite and peat moss (50:50)
- Coco peat mixed with a small amount of compost
Avoid heavy clay soils, which can retain too much water and lead to rotting. Use a clean container with drainage holes to prevent waterlogging.
Planting the Cutting
Plant your prepared cutting as follows:
- Make a small hole in the growing medium.
- Insert the base of the cutting about 2-3 inches deep, ensuring at least one node is below the surface.
- Firm the soil gently around the cutting to remove air pockets.
- Water lightly but thoroughly.
It’s important not to overwater. Mulberry cuttings need consistently moist soil, but soggy conditions can promote fungal infections.
Creating the Ideal Rooting Environment
Mulberry cuttings root best in a humid, warm environment with indirect sunlight. To achieve this:
- Cover the cuttings with a plastic bag or use a mini-greenhouse. This traps moisture and creates a stable environment.
- Place in a bright spot, avoiding direct sunlight, which can scorch the cutting.
- Maintain temperature around 20–25°C (68–77°F). Warmth encourages root growth, but extreme heat can dry out the cutting.
Check the cutting daily to ensure the soil remains slightly moist. Remove any fallen leaves and prevent mold growth inside the covering.
Rooting Timeline
Mulberry cuttings typically take 3 to 6 weeks to root, depending on conditions and season. You’ll notice signs of success when:
➡️ How to Grow Malabar Spinach from Cuttings for Fast, Easy Greens
➡️ How to Grow Super Delicious Cabbage at Home Without a Garden
➡️ How to Grow Bean Sprouts at Home in Plastic Bottles Easily (Step‑by‑Step Guide)
➡️ Why is Your Lemon Tree Blooming in the Heart of Winter?
➡️ Why Should Your Garden Have a Dedicated Pollinator Highway?
➡️ Why Do Your Fruit Trees Need a Winter Wash to Thrive in Spring?
➡️ How Can Rice Water Transform Your Fruits into Sweeter Delights?
➡️ Jumpstart Your Winter Garden: Seed Starting Under Lights
- New leaf buds begin to emerge.
- The cutting shows resistance when gently tugged, indicating roots have formed.
Patience is essential. Avoid the temptation to pull the cutting out too early, as this can damage delicate roots.
Transplanting Your New Mulberry Tree
Once the cutting has rooted and new growth appears, it’s time to transplant:
- Harden Off: Gradually acclimate your new tree to outdoor conditions over 1–2 weeks. Start by placing it in partial shade and slowly increase sunlight exposure.
- Choose a Planting Spot: Mulberries prefer full sun but tolerate partial shade. Ensure good soil drainage and adequate space, as these trees can grow large.
- Plant Carefully: Dig a hole slightly larger than the root ball, place the cutting, and backfill with soil. Water thoroughly to settle the soil.
Mulberries are hardy and fast-growing, so with proper care, your cutting can develop into a full-sized tree in a few years.
Budget-Friendly Tips for Multiplying Mulberries
- Recycle Containers: Use old plastic bottles, yogurt cups, or milk cartons for rooting cuttings. Just make sure they have drainage holes.
- Use Garden Soil Wisely: Instead of buying special potting mix, mix your garden soil with sand or compost to create a suitable rooting medium.
- Save Rooting Hormone: Homemade rooting solutions like willow water (soak young willow branches in water for 24 hours) can act as a natural rooting stimulant.
- Propagate in Batches: Take multiple cuttings at once to maximize results without extra trips to the nursery.
By implementing these strategies, even a gardener on a tight budget can multiply their mulberry trees efficiently.
Common Problems and Solutions
- Cuttings Rotting: Often caused by overwatering or poor drainage. Ensure your medium drains well and water only when the top layer feels dry.
- Slow or No Rooting: May be due to low temperature or dormant cuttings. Ensure cuttings are taken from healthy branches and keep them warm.
- Pests and Mold: Covering cuttings can create a humid environment, but watch for mold. Ventilate occasionally to prevent fungal growth.
Conclusion
Multiplying mulberries from cuttings is one of the easiest and most budget-friendly ways to grow a thriving garden. With a little patience, proper timing, and a few simple materials, you can turn one healthy mulberry tree into dozens of future trees, expanding your fruit harvest and adding beauty to your landscape. By following these steps—selecting healthy cuttings, preparing them correctly, providing the right growing medium, and maintaining optimal conditions—you can achieve success even as a beginner gardener.
So, gather your cuttings, prepare your containers, and start multiplying your mulberry trees today. Your future garden, rich with sweet, homegrown berries, awaits!